Premiere Pro editing techniques: 5 Essential Hacks
Why Mastering Premiere Pro Editing Techniques Changes Everything
Premiere Pro editing techniques are the foundation of efficient video production. Mastering them is the key to moving from slow, frustrating edits to a smooth, creative workflow. Here are some of the most impactful techniques:
Core Techniques for Faster Editing:
- Proxy Workflows – Edit high-resolution footage smoothly by creating lower-resolution copies.
- Keyboard Shortcuts – Speed up your editing with essential shortcuts like J-K-L for playback and C for the Razor Tool.
- Adjustment Layers – Apply effects to multiple clips simultaneously.
- Text-Based Editing – Edit your video by cutting the auto-generated transcript.
- Timeline Nesting – Organize complex projects by grouping clips into manageable sequences.
- Essential Sound Panel – Auto-level dialogue and duck music under speech with one click.
- Lumetri Color – Color grade directly in Premiere Pro without switching applications.
While Adobe Premiere Pro is a top-tier video editing software, its true potential is unlocked when you build a custom workflow. Learning the software can feel daunting, but these tips will help you access the program’s full capabilities. When you master these tools, you stop fighting the software and start bringing your creative vision to life faster.
I’m Christian Daniel, an award-winning video editor with over two decades of experience producing content for clients like The Plaza Hotel and Park Hyatt Chicago. I’ve spent countless hours refining my workflow to find which Premiere Pro editing techniques deliver polished videos faster without sacrificing quality.
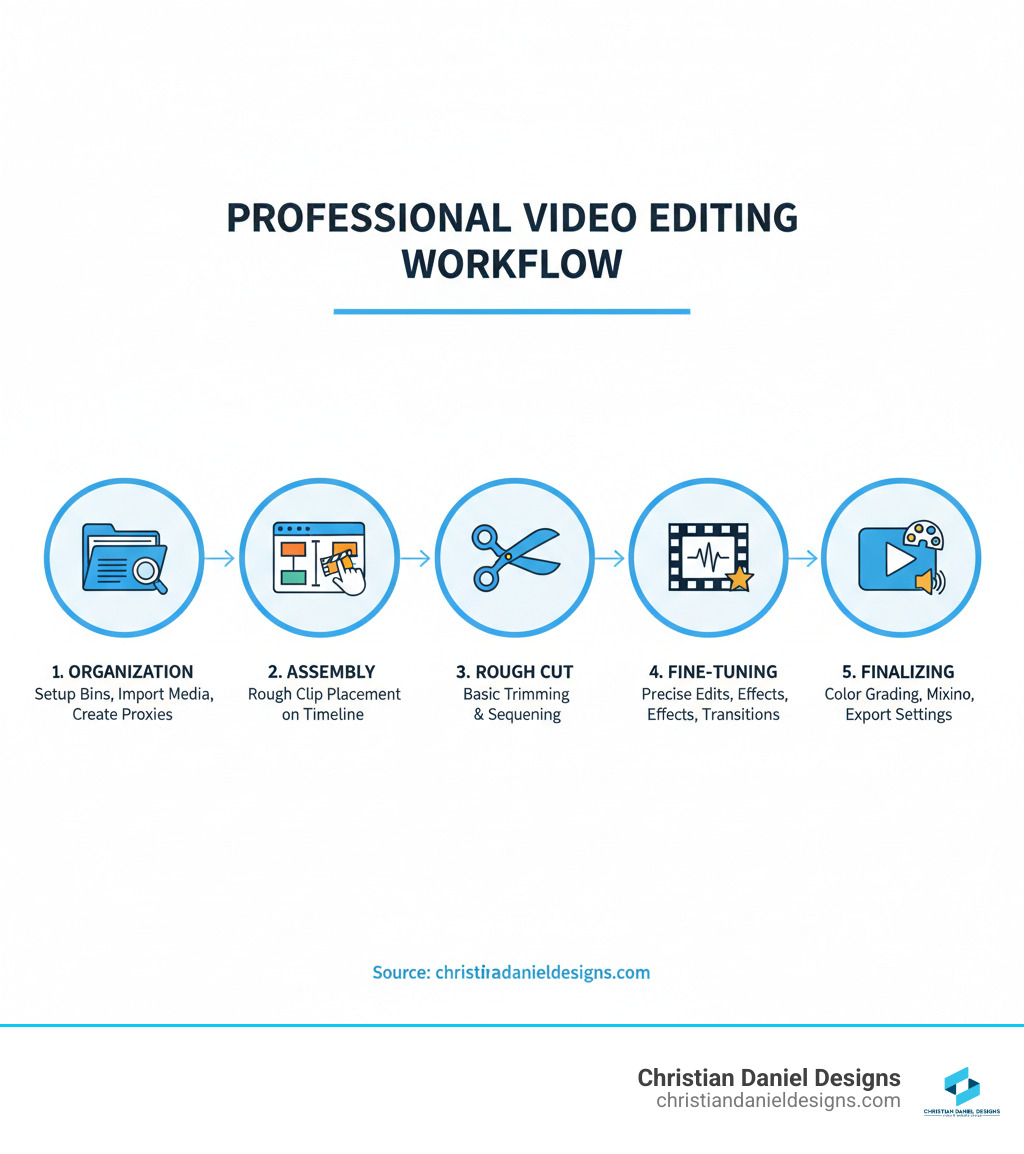
Terms related to Premiere Pro editing techniques:
Streamline Your Workflow: Organization and Performance Hacks
An efficient workspace is the foundation of any project. It lets me concentrate on creative work instead of hunting for files or waiting for my computer to catch up. These Premiere Pro editing techniques for organization and performance have saved me countless hours.
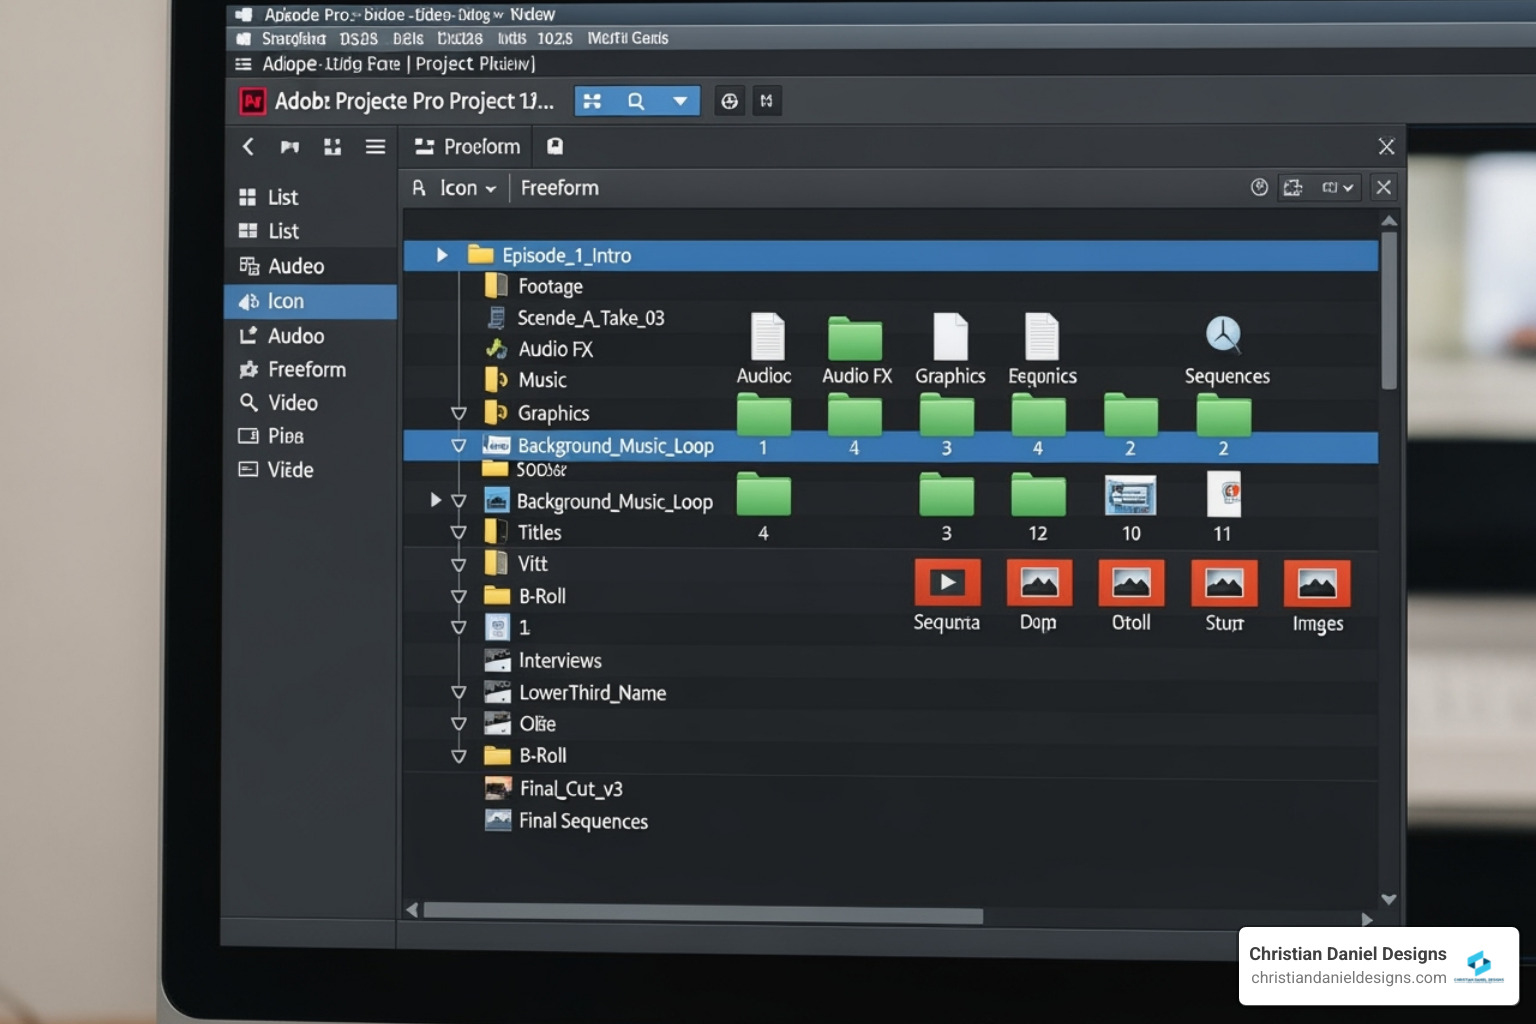
Master Your Project Panel
A well-organized Project panel is your editing command center. I start every project by creating a logical folder structure with bins like 01Footage, 02Audio, 03Graphics, 04Sequences, and 05_Stills.
Beyond bins, I use color coding to quickly identify media types and metadata like keywords and notes to make searching for clips incredibly fast. I also enforce consistent file naming conventions. This level of organization might seem tedious, but it pays dividends throughout the project. For more details on professional workflows, check out my video editing services.
Boost Performance with Proxies and Playback Settings
Lag kills creative momentum, especially with 4K or RAW footage. The single biggest performance booster is using proxy files—lower-resolution copies of your original media. I edit with these lightweight files for smooth performance, and Premiere Pro automatically switches back to the full-resolution originals for export. To create them, I just right-click my clips and select ‘Proxy > Create Proxy’.
Other quick wins include adjusting the playback resolution in the Program Monitor to ½ or ¼ and giving Premiere Pro more RAM under Preferences > Memory. I also make it a habit to regularly clear my media cache, as the temporary files can bog things down. These optimizations mean less time staring at loading bars and more time editing. When sharing finished work, I follow best practices for how to send large video files.
Tame Your Timeline with Nesting and Pancakes
As projects grow, timelines can become overwhelming. Timeline nesting is a lifesaver. It lets me group multiple clips and layers into a single nested sequence. For example, I’ll nest a complex intro into one clean clip on my main timeline, which I can still open to make adjustments.
I’m also a huge fan of the Pancake Timeline technique, learned from editor Vashi Nedomansky. This involves stacking multiple timelines in the workspace. I typically keep a “selects” timeline on top and my main edit timeline below, allowing me to drag clips from one to the other quickly. This gives me a bird’s-eye view of all my footage, dramatically speeding up the assembly process.
Essential Premiere Pro Editing Techniques for Speed and Efficiency
Mastering certain Premiere Pro editing techniques directly impacts how quickly I can work. Speed isn’t just about working fast; it’s about working smart and letting the software do the heavy lifting.
Become a Keyboard Shortcut Ninja
Learning keyboard shortcuts transformed my editing career. My hands rarely leave the keyboard, and the muscle memory saves me hours every week.
- J-K-L keys are my playback foundation: J to rewind, K to pause, and L to fast-forward.
- C for the Razor Tool and V for the Selection Tool let me make cuts without using the mouse.
- I and O to set In and Out points are essential for marking clips.
- Q and W for Ripple Trim are time-savers that trim clips and close gaps simultaneously.
I’ve also customized my keyboard shortcuts to match how I think. As the Adobe Best Practices guide notes, this allows me to enact edits at the speed of thought, making the software adapt to my workflow.
My Favorite Time-Saving Premiere Pro Editing Techniques
A few specific Premiere Pro editing techniques are indispensable in my daily work.
- Text-Based Editing: This feature auto-transcribes footage, letting me edit the video by simply cutting and pasting text in the transcript panel. It’s for dialogue-heavy projects like interviews.
- Scene Edit Detection: This AI-driven tool analyzes a long video file and automatically adds cuts at every scene change, saving me from manual scrubbing and slicing.
- Adjustment Layers: Instead of applying an effect to dozens of individual clips, I place an adjustment layer above them and apply the effect once. This saves time and ensures consistency.
Master Advanced Trimming Tools
Precise trimming separates amateur edits from professional ones. Premiere Pro’s advanced tools offer surgical control over pacing and timing.
- Ripple Edit Tool (B): Trims a clip and automatically closes the resulting gap, keeping the timeline tight.
- Roll Edit Tool (N): Adjusts the cut point separating two adjacent clips without changing the overall sequence duration.
- Slip Tool (Y): Changes the in and out points of a clip within its existing duration on the timeline.
- Slide Tool (U): Moves a clip on the timeline while trimming adjacent clips to accommodate it.
- Rate Stretch Tool (R): My secret weapon. I drag the edge of a clip to speed it up or slow it down, which is perfect for fitting clips to music or creating speed ramps.
Lift Your Visuals: Creative Effects, Color, and Animation
Strong visuals are about crafting a mood, directing attention, and making your story resonate. Premiere Pro has an incredible toolkit for changing ordinary footage into something memorable, and these Premiere Pro editing techniques are ones I rely on for nearly every project.
Fast and Effective Color Grading
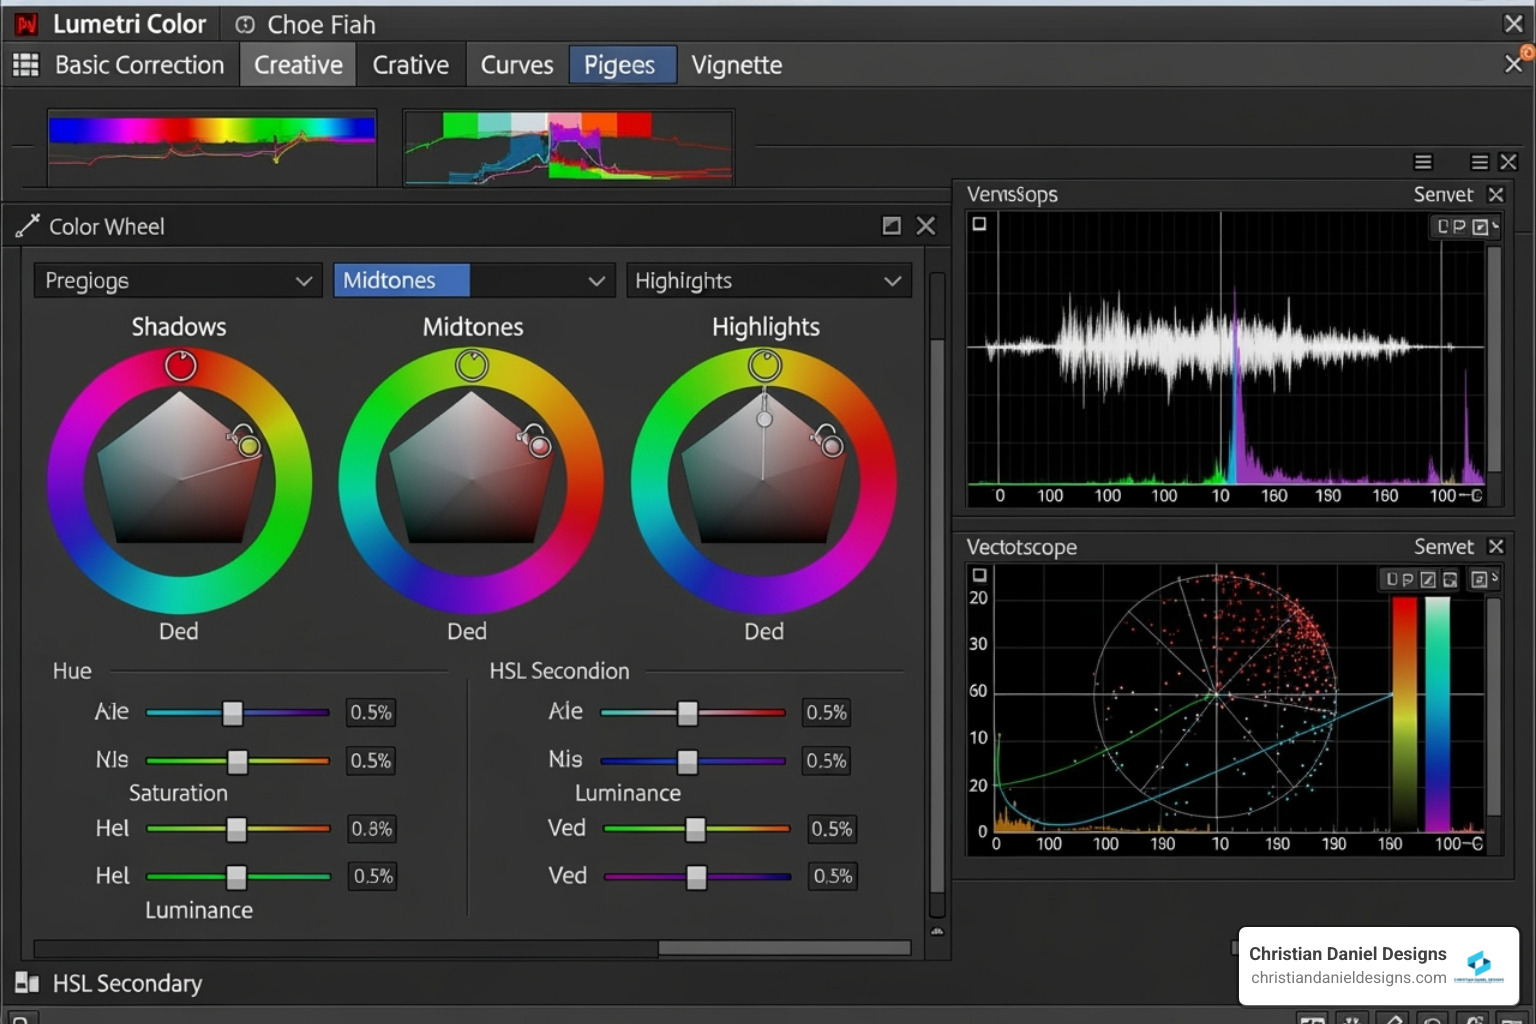
Color grading sets the emotional tone of a video. I do all my color work in the Lumetri Color panel for professional results without leaving the application.
My workflow starts with Basic Correction to fix fundamentals like white balance and exposure. Once the image is balanced, I move to the Creative tab to apply LUTs (Lookup Tables) for an instant cinematic starting point. For more precise control, the HSL Secondary tab lets me target and adjust specific colors, like making a sky more vibrant without affecting skin tones.
To maintain consistency, Premiere Pro’s color matching feature is a great starting point. For group grading, I use a workaround combining adjustment layers with clip label colors, a technique I learned from A Simple Hack for Group Color Grading in Premiere Pro. You can find more guidance in my Color Grading in Premiere Pro guide.
Bring Your Clips to Life with Masking and Keyframing
I use keyframe animation constantly to add polish to videos. By setting keyframes for properties like position, scale, and opacity, I can create smooth animations for lower thirds, logos, or even add subtle camera moves to static shots.
Masking lets me apply effects to specific areas of the frame. I use it for practical purposes like blurring faces or license plates for privacy. With tracking masks, Premiere Pro can automatically follow moving objects, saving me from tedious frame-by-frame animation. This is essential for any selective effects work.
Create Unique Transitions with Built-in Effects
Creative transitions can inject personality and style into an edit. Instead of default dissolves, I prefer to craft something more intentional.
- The Corner Pin effect can produce unique, custom-made transitions with some experimentation. Check it out in action to see what’s possible.
- The Gradient Wipe effect creates a fluid, painterly transition that feels more organic than a standard cut.
- A simple “dip to black” or “dip to white,” created by keyframing the opacity of a solid color layer, is a timeless and effective technique.
Avoiding default transitions makes your work stand out and shows an attention to detail that clients notice.
Mastering Audio: From Cleanup to Professional Mix
Great audio completes the experience and can make or break a project. I treat audio editing with the same care as my visuals, and Premiere Pro has robust tools to ensure my projects sound polished.
The Essential Sound Panel: Your Audio Swiss Army Knife
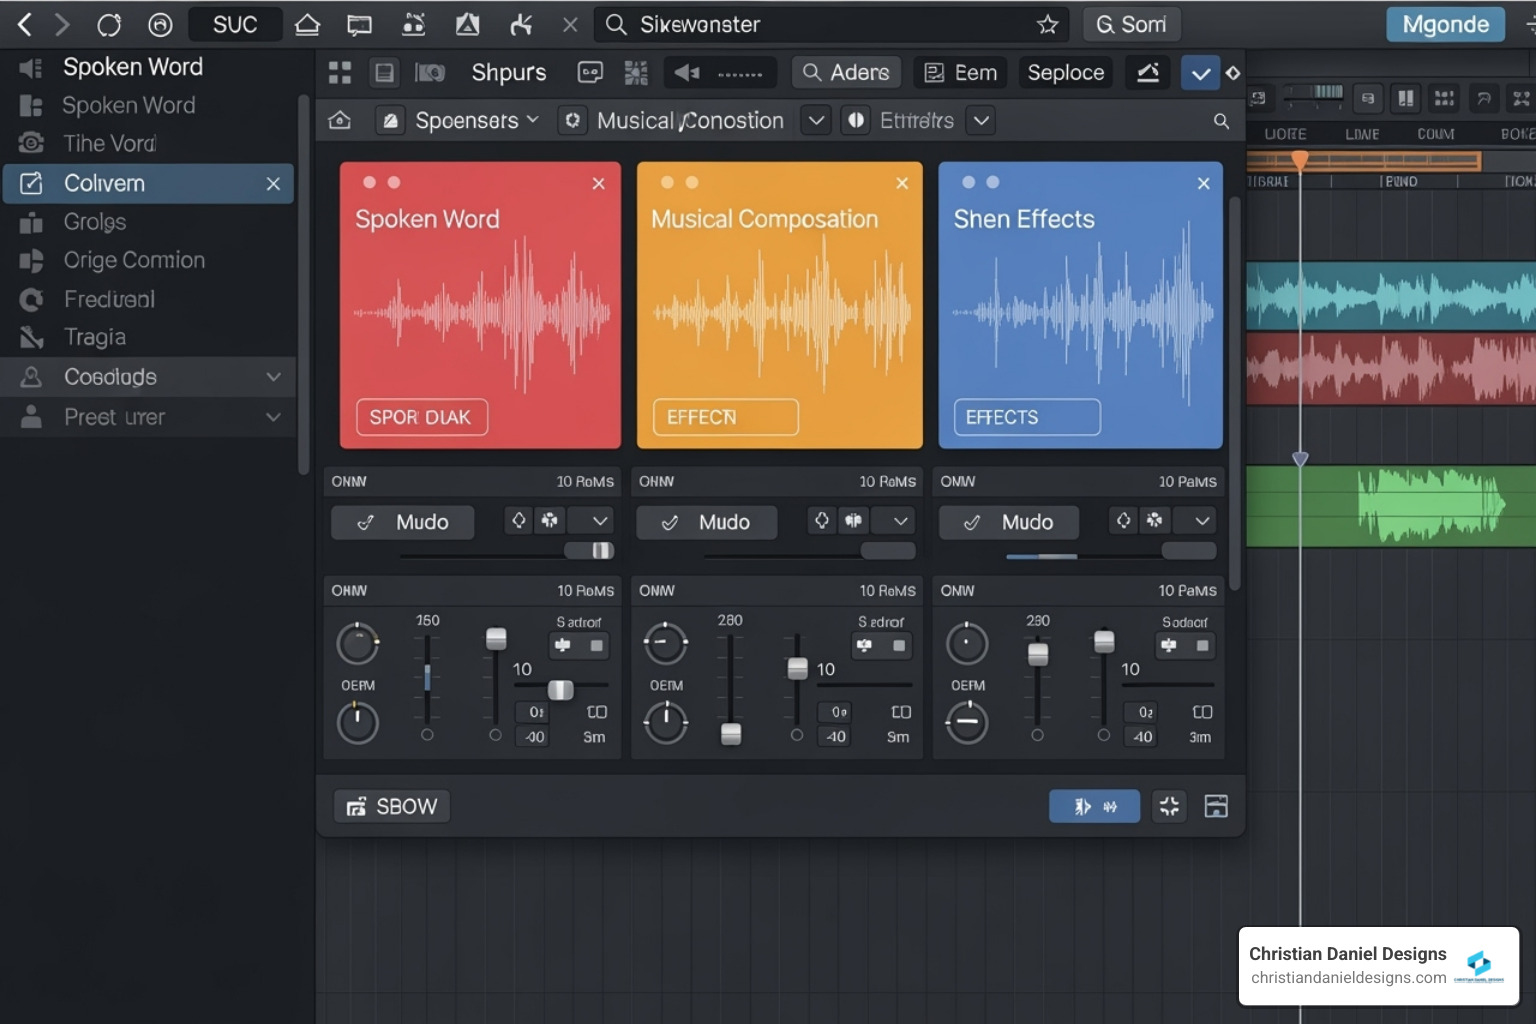
The Essential Sound panel is my go-to for audio, simplifying complex tasks into a few clicks. I start by assigning each clip a type: Dialogue, Music, SFX, or Ambience. This applies intelligent processing based on the clip’s role.
For dialogue, the Repair section’s Reduce Noise, Reduce Reverb, and AI-driven Improve Speech features are lifesavers for cleaning up imperfect recordings. The Auto-match Loudness feature brings all dialogue to a consistent, professional level.
For music, auto-ducking automatically lowers the volume when dialogue is present, saving me from hours of manual keyframing. The AI-driven Remix Tool is another favorite; it intelligently shortens or lengthens a music track to fit a specific duration without sounding choppy. For a deeper dive, see my guide on Audio Editing in Premiere Pro.
Fine-Tune Your Mix with Advanced Tools
For more precise control, I turn to advanced tools.
- The Audio Track Mixer lets me apply effects like EQ or compression to entire tracks, ensuring consistency across a project.
- Submixes allow me to group multiple tracks (like all my sound effects) to control their volume or apply effects as a single unit.
- The Loudness Radar effect provides a visual representation of my audio’s loudness over time, helping me meet broadcast standards.
- Syncing external audio is simple. I select the video and external audio clips, right-click, and choose ‘Synchronize’. Premiere Pro automatically aligns them based on their waveforms, which is essential for multi-camera shoots.
Frequently Asked Questions about Premiere Pro
After years of teaching and mentoring, I’ve noticed the same questions come up again and again. Here are my practical solutions to the challenges nearly every editor faces.
How do I reduce lag and stop Premiere Pro from crashing?
Lag is a common frustration. My first line of defense is always proxy files for high-resolution footage, which allow for smooth editing. I also lower the playback resolution in the Program Monitor to ½ or ¼ and regularly clear the media cache to remove performance-hogging temporary files. Finally, I allocate more RAM to Premiere Pro under Preferences > Memory and ensure my graphics drivers are up to date.
What’s the fastest way to apply the same effect to multiple clips?
Adjustment Layers are the answer. Instead of applying an effect to each clip individually, I create a single adjustment layer, place it on a video track above the clips, and apply the effect to that layer. All clips underneath are affected instantly. This is a huge time-saver, especially for color grading.
How can I easily sync audio from a separate recorder to my video?
Premiere Pro makes syncing external audio simple. I place both the camera clip and the separate audio clip in my timeline, select them both, right-click, and choose ‘Synchronize’. By selecting ‘Audio’ as the sync point, Premiere Pro analyzes the waveforms and aligns them automatically. This is essential for any production using external microphones or multiple cameras.
Conclusion
The journey to mastering Premiere Pro editing techniques never really ends, which is what makes it so exciting. The techniques I’ve shared are the practical tools I use daily to create polished, professional content.
I’ve learned that efficiency and creativity go hand-in-hand. Streamlining my workflow with proxies, shortcuts, and organized project files clears mental space to concentrate on storytelling. It buys me more time to experiment and perfect the emotional pacing of a scene. Moving from feeling overwhelmed by Premiere Pro to feeling empowered is within your reach with practice and patience.
As an award-winning NYC video editor at Christian Daniel Designs, I’ve seen how these techniques deliver real results for my clients, from small businesses to hospitality brands. The difference separating an amateur and a professional edit often comes down to these exact workflows.
My advice is to start small. Pick one or two techniques from this guide and master them in your next project. Before you know it, you’ll have built a custom workflow that lets your creativity flow freely.
Keep editing, keep learning, and remember—Premiere Pro is just a tool. Your vision is what matters most.


