Film editing Premiere Pro: 5 Essential Tips 2025
Why Film Editing Premiere Pro Matters for Your Business
Film editing Premiere Pro is the industry-standard software for changing raw video footage into compelling visual stories. Whether for a hotel promotion, a restaurant showcase, or social media content, Premiere Pro provides professional tools to create videos that deliver real business results.
Quick Answer: To edit films in Premiere Pro:
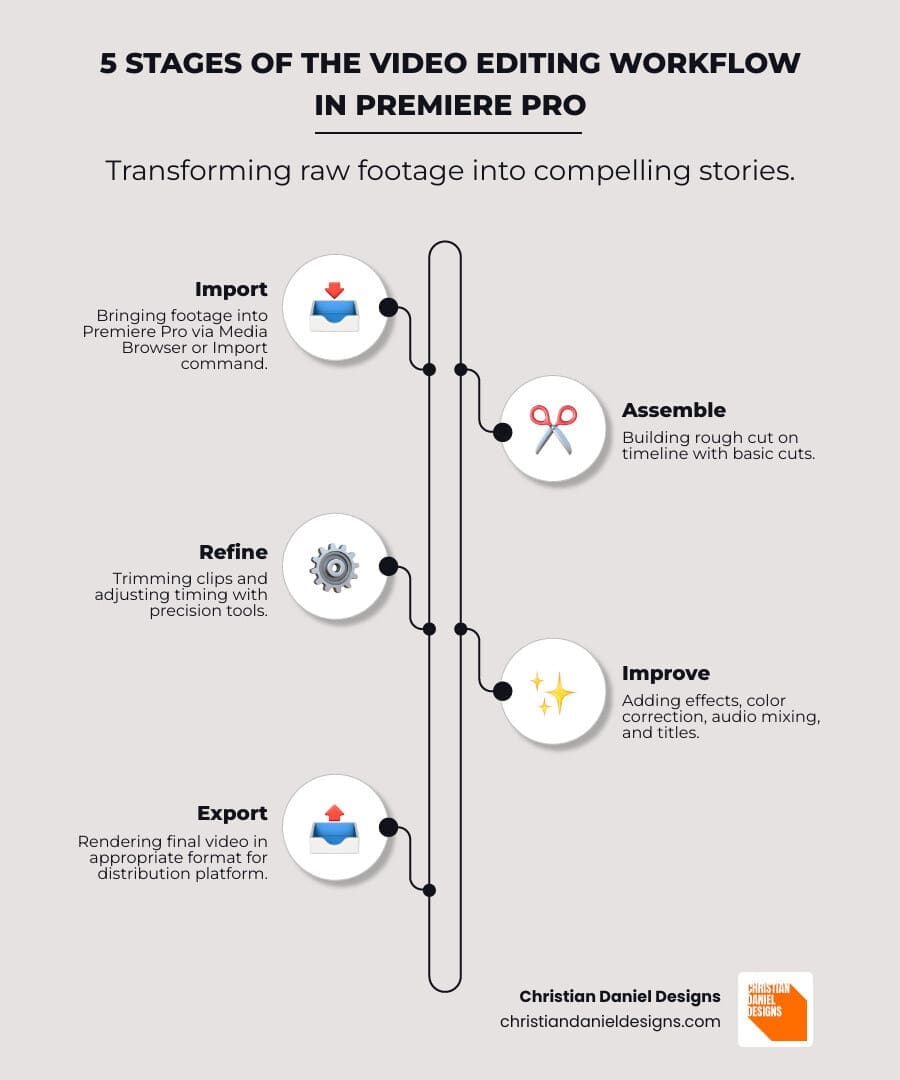
- Import your footage using the Media Browser.
- Create a new sequence that matches your footage settings.
- Assemble a rough cut by dragging clips to the timeline.
- Trim and refine clips using the Razor and Selection tools.
- Improve with transitions, effects, titles, and audio mixing.
- Color grade using the Lumetri Color panel.
- Export in the correct format (e.g., H.264 for web).
Premiere Pro is a practical tool for videographers, content creators, and business owners alike. It has evolved into an accessible platform with AI-powered features that accelerate tasks like transcription and audio cleanup. Its flexibility is a key asset for businesses, allowing you to edit everything from 15-second Instagram stories to long-form documentaries in one workspace. The software handles footage from any camera and integrates seamlessly with other Adobe creative tools.
While there is a learning curve, basic editing can be learned in an afternoon. The interface is designed to introduce advanced features as your skills grow.
As Christian Daniel, I’ve used Film editing Premiere Pro for over two decades to produce videos for clients like The Plaza Hotel and Park Hyatt Chicago. This guide will walk you through the essential techniques to turn your raw footage into professional content that connects with your audience.
Setting the Stage: Your First Premiere Pro Project
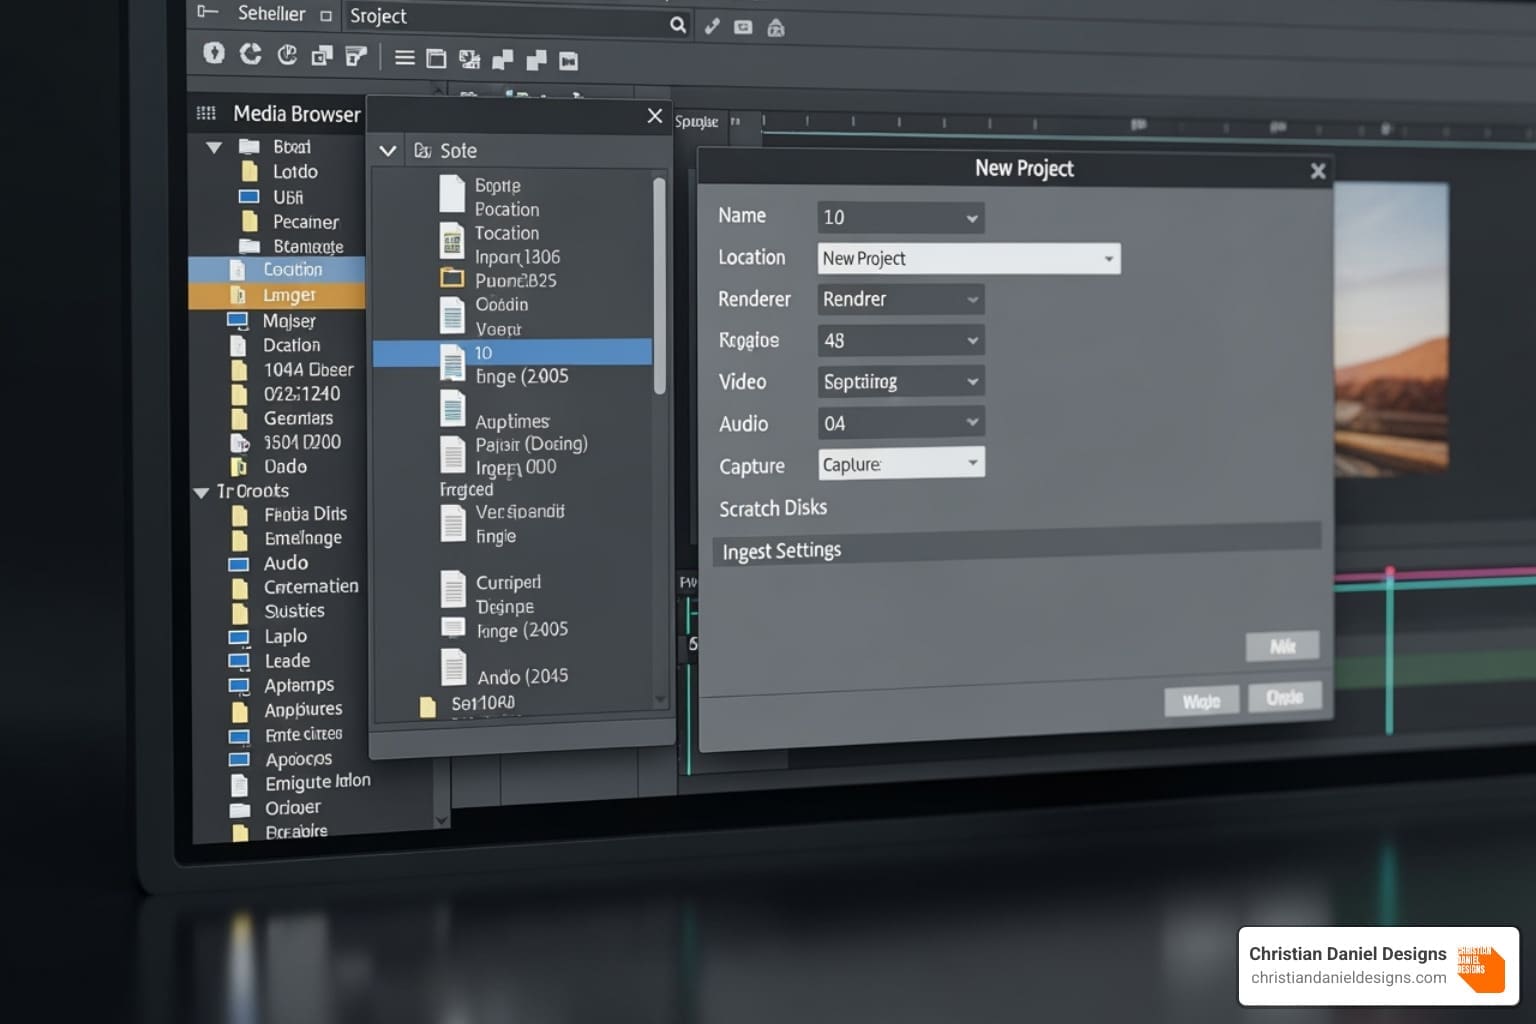
When you launch Premiere Pro, the New Project window appears. Give your project a descriptive name, choose a save location, and click ‘Create’.
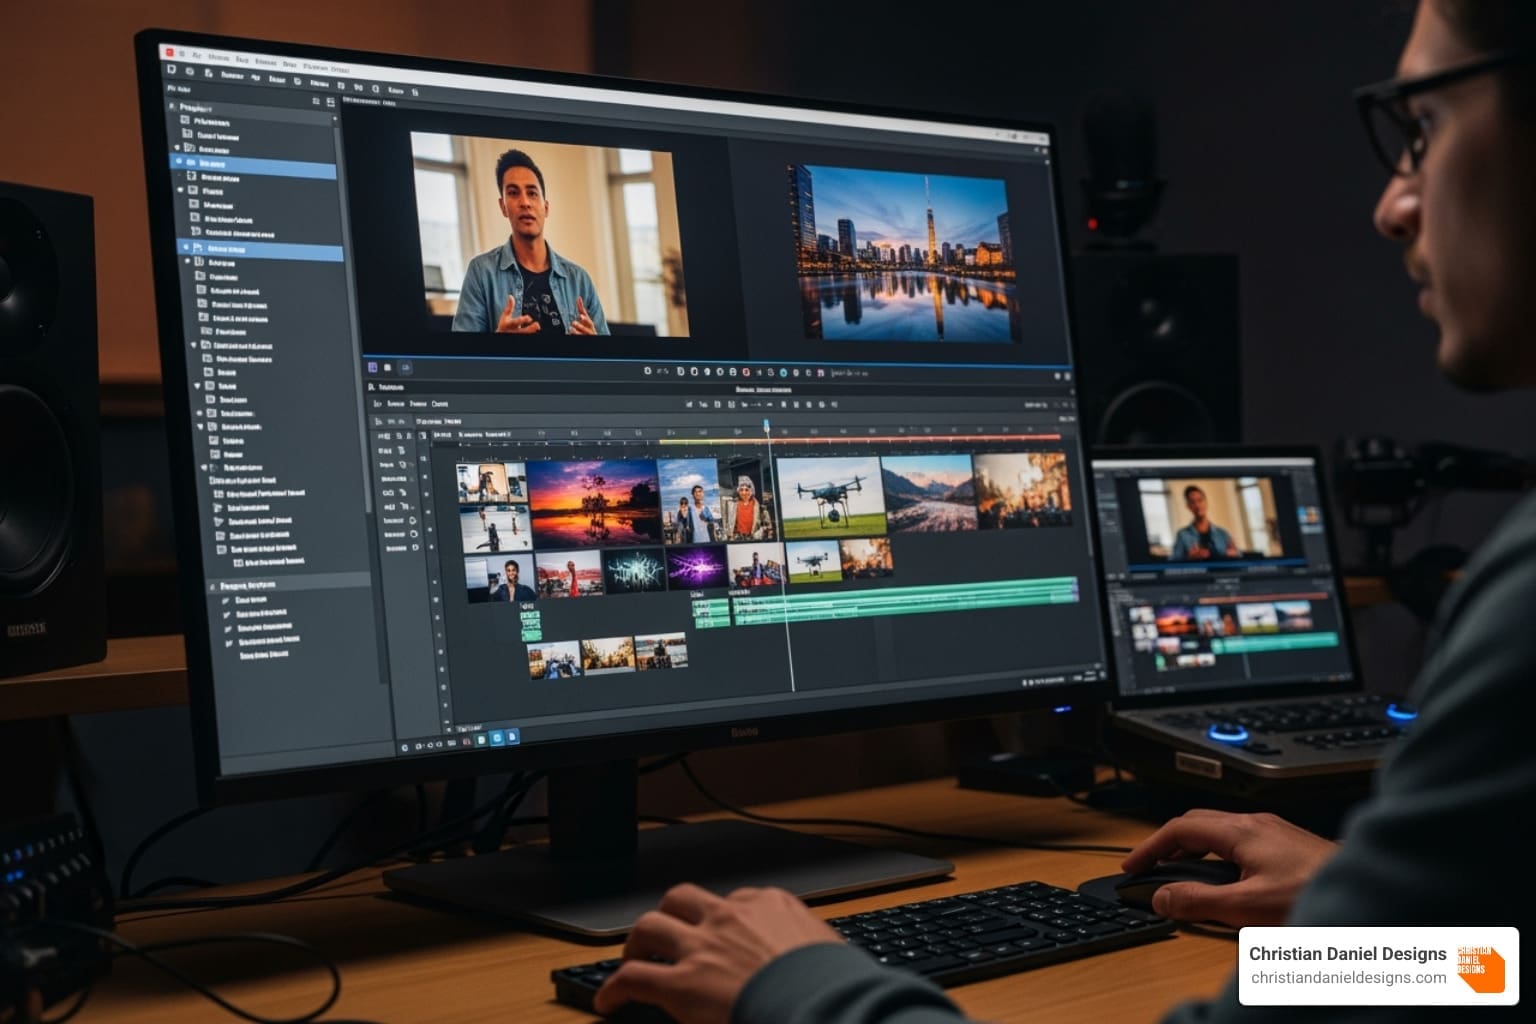
The main interface of Film editing Premiere Pro has a logical layout with four key panels:
- Project Panel: Your media library where all imported files (video, audio, graphics) are stored. Use folders (bins) to stay organized.
- Source Monitor: Preview individual clips and select the parts you want to use before adding them to your edit.
- Program Monitor: Displays your edited sequence as you build it on the timeline. This is your final video’s view.
- Timeline: The main workspace where you arrange clips, layer audio, and build your story from start to finish.
You can customize this workspace by resizing and moving panels, then save layouts for different tasks, like editing Music Videos or Professional Video Editing projects.
Importing and Organizing Media for Film editing Premiere Pro
To get media into your project, use the Media Browser panel. It’s the recommended method for navigating to your files, previewing them, and importing them with all their technical data intact, especially for footage from professional cameras. For simple files like music or graphics, you can also use the Import command (File > Import) or drag them directly into the Project Panel.
Once imported, create a sequence (your editing timeline) by right-clicking a video clip and selecting ‘New Sequence from Clip’. This automatically creates a sequence with matching resolution and framerate.
For high-resolution 4K or 6K footage that slows down your computer, use a proxy workflow. Premiere Pro creates smaller, low-resolution copies for smooth editing, then automatically reverts to the high-quality original files for the final export.
Good organization is key. Create bins in your Project Panel for video, audio, and graphics. Use color labels to visually categorize clips, which saves hours of searching later. A well-organized project is the foundation for a smooth, creative editing process.
Mastering the Timeline: Core Film editing Premiere Pro Techniques
The timeline is where you assemble your story in Film editing Premiere Pro.
Drag clips from the Project Panel onto the timeline to get started. You can add as many video and audio tracks as you need. Efficiently steer by zooming in for precise cuts and zooming out for an overview.
The most essential editing skill is cutting. Use the Razor Tool (shortcut ‘C’) to split clips. Switch back to the Selection tool (‘V’) to move or delete the resulting segments. Trimming refines these cuts by adjusting a clip’s start or end point. Simply drag the edge of a clip to change its duration.
For more professional transitions, use J-cuts (audio from the next clip starts before the video) and L-cuts (audio from the current clip continues over the next video). These techniques create a seamless flow, which I use often in Music Videos and Short Form Video Editing.
Keyboard shortcuts dramatically increase editing speed. Key shortcuts include:
- V: Selection tool
- C: Razor tool
- I / O: Set In and Out points
- Spacebar: Play/Pause
- Ctrl/Cmd+K: Cut at playhead
- Ctrl/Cmd+Z: Undo
Assembling Your Rough Cut
The rough cut focuses on story structure over polish. It’s about getting the narrative flow right.
Use three-point editing for precision: mark In and Out points in the Source Monitor, then an In point on the timeline to place the clip exactly where you want it. Source patching and track targeting let you control which tracks your video and audio land on, which is crucial for organizing complex Professional Video Editing projects. Use markers on the timeline to leave notes for yourself, like “tighten this section” or “add sound effect here.” The goal is to build a cohesive story that you can refine later.
Enhancing Your Narrative: Effects, Audio, and Graphics
With your rough cut assembled, it’s time to add visual polish and immersive sound. Film editing Premiere Pro provides professional tools to make your edit memorable.
Video transitions, like a simple cross dissolve, bridge the gap between shots. Drag them from the Effects panel onto a cut. For applying a consistent look (like a color grade or blur) across multiple clips, use an adjustment layer. Place it on a track above your clips and apply video effects to it; everything underneath will be affected.
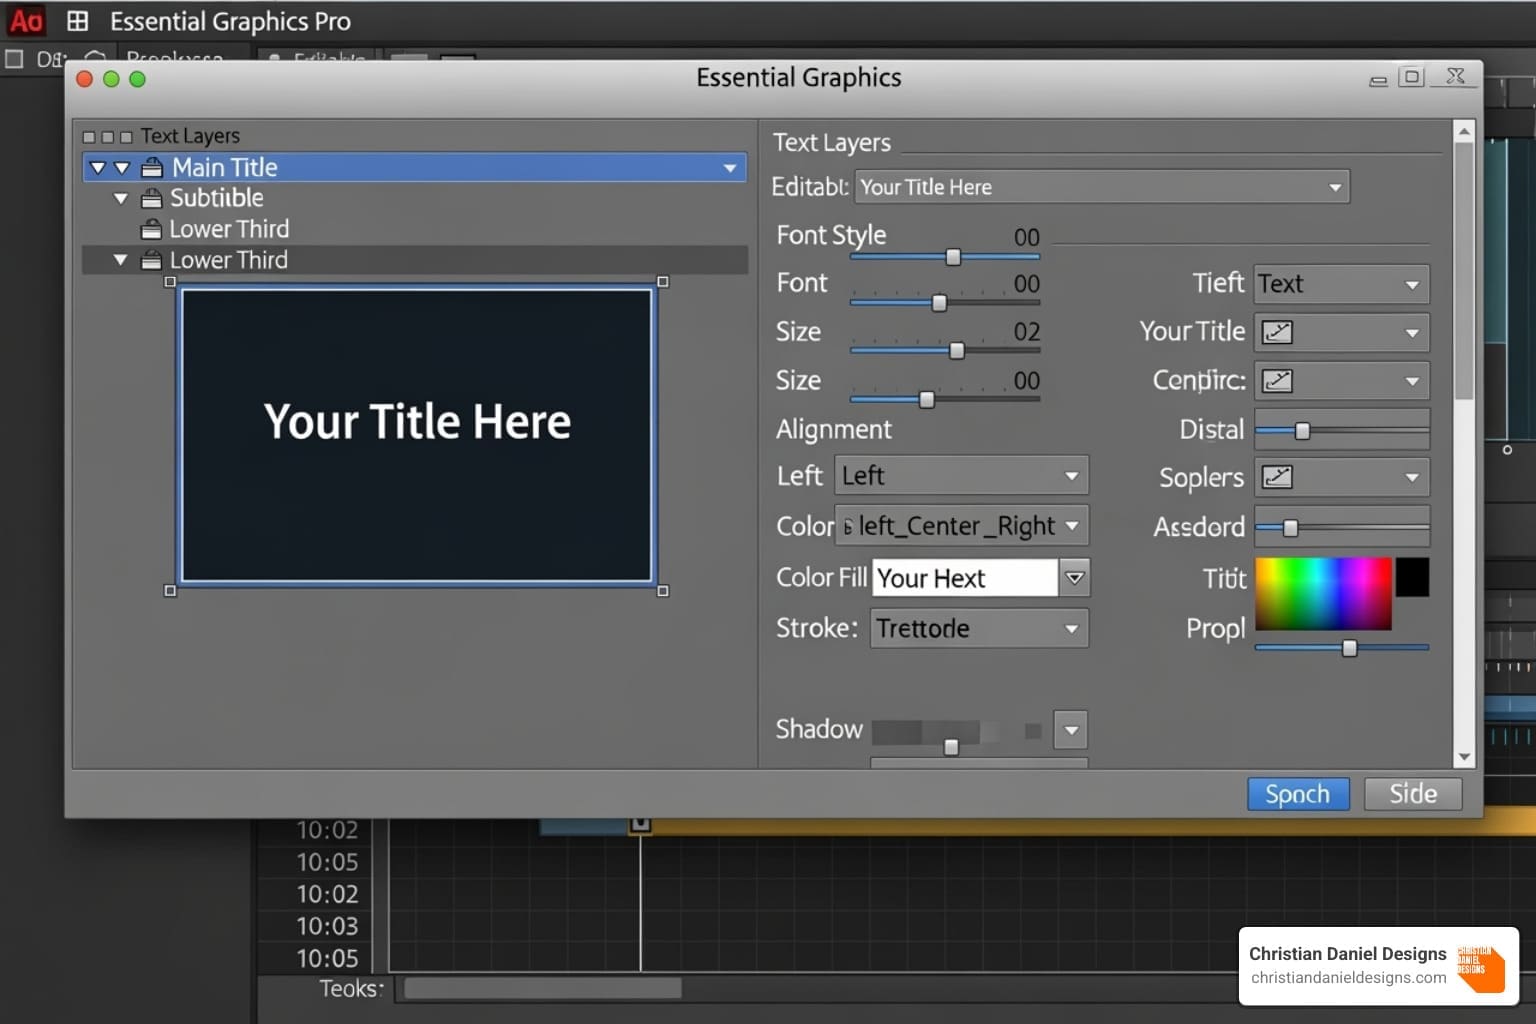
For titles and graphics, the Essential Graphics panel is your command center for creating lower thirds, titles, and branded elements. To work even faster, use Motion Graphics Templates (.mogrt files). These are pre-designed, customizable templates that you can drop into your timeline and quickly adapt to your brand.
Perfecting Your Soundtrack
Bad audio can ruin a great video. Fortunately, Film editing Premiere Pro has powerful audio tools. For a deep dive, see our guide on Audio Editing Premiere Pro.
The Essential Sound panel simplifies audio mixing. Tag clips as Dialogue, Music, or SFX to access relevant controls. The AI-powered Improve Speech feature can clean up noisy dialogue. Adjust volume by dragging the level line on a clip or use keyframing for gradual fades.
Essential audio effects include Denoise to reduce background hum and EQ (Equalization) to shape tonal quality. The Remix tool uses AI to intelligently shorten or lengthen music tracks to fit your video’s duration. Finally, use auto-ducking in the Essential Sound panel to automatically lower music volume during dialogue, ensuring your message is always clear. The goal is a balanced mix where dialogue is prominent, and music and effects improve the mood.
The Final Polish: Color, AI, and Exporting
With our story assembled and our audio and graphics in place, it’s time for the final polish. This is where we transform good footage into something truly cinematic, using color to set the mood and AI tools to work smarter, not harder.
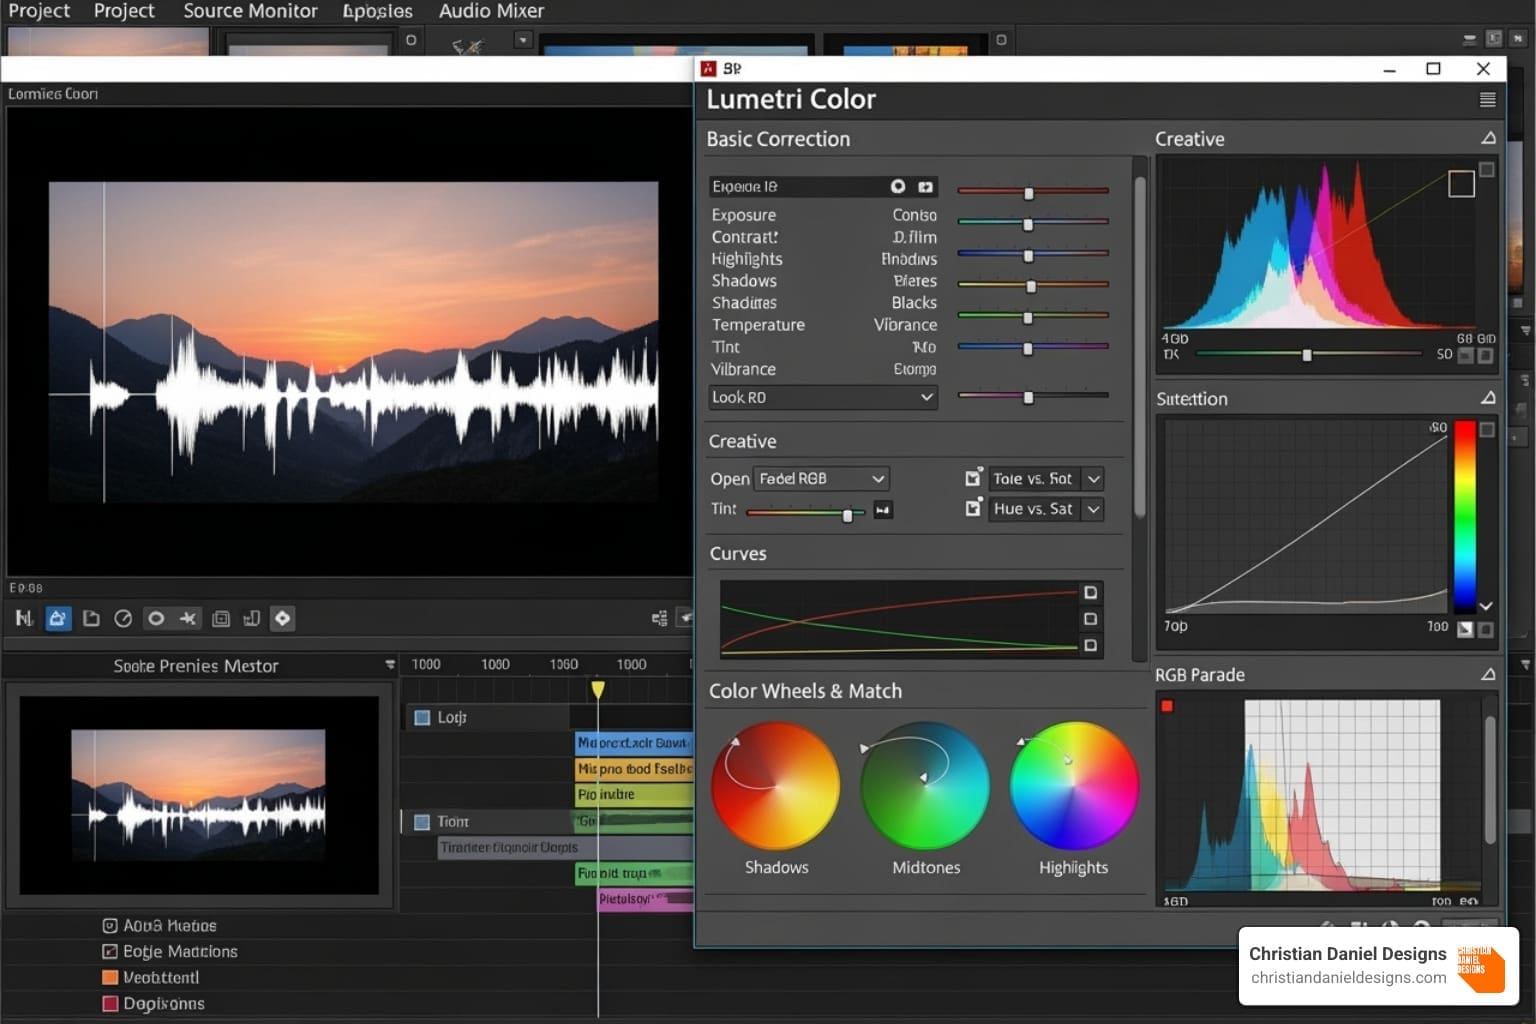
Color correction is the technical process of fixing exposure and white balance, while color grading is the creative process of establishing a mood or style. Both are done in the Lumetri Color panel in Film editing Premiere Pro. Use video scopes (like the Waveform and Vectorscope) to make objective color decisions. You can also apply LUTs (Look-Up Tables) for instant cinematic looks. For projects with multiple camera angles, multi-camera editing lets you sync footage and switch between angles in real-time.
Advanced Techniques for Color, AI, and Integration
Film editing Premiere Pro includes several AI-powered features to speed up your workflow:
- Text-Based Editing: Edit your video by simply editing its text transcript. Deleting a sentence in the transcript removes the corresponding video clip.
- Improve Speech: Cleans up dialogue by reducing background noise and reverb.
- Auto Reframe: Intelligently reframes widescreen video for vertical (9:16) or square (1:1) social media formats.
- Remix: Adjusts the duration of a music track to fit your video while maintaining its musical structure.
- Color Match: Automatically matches the color and light of different clips for visual consistency.
Dynamic Link seamlessly connects Premiere Pro with After Effects for advanced motion graphics, with changes updating automatically. This is invaluable for custom animations in Music Videos or Short Form Video Editing projects.
Finally, export your project. H.264 is the standard for web platforms like YouTube and Instagram, offering a good balance of quality and file size. ProRes is best for archival or mastering. See all supported formats. Use presets or the settings below for popular platforms:
| Platform | Format | Codec | Resolution | Frame Rate | Bitrate (VBR) | Audio Codec | Audio Sample Rate |
|---|---|---|---|---|---|---|---|
| YouTube | MP4 | H.264 | 1920×1080 | 23.976/24, 25, 29.97/30 | 10-20 Mbps | AAC | 48 kHz |
| MP4 | H.264 | 1080×1080 (square), 1080×1350 (vertical), 1920×1080 (horizontal) | 23.976/24, 25, 29.97/30 | 3.5 Mbps | AAC | 48 kHz | |
| TikTok | MP4 | H.264 | 1080×1920 | 23.976/24, 25, 29.97/30 | 4-8 Mbps | AAC | 48 kHz |
Correct export settings ensure your video looks its best everywhere.
Frequently Asked Questions about Premiere Pro
As we wrap up our journey through Film editing Premiere Pro, let’s tackle some of the most common questions that come up when people are considering diving into this powerful editing tool.
How much does Premiere Pro cost?
Premiere Pro is available via a subscription model, ensuring you always have the latest updates.
- Individual App Plan: For just Premiere Pro, this costs CAD $29.99 per month.
- Creative Cloud All Apps Plan: A better value for many, this includes Premiere Pro, After Effects, Photoshop, and more for CAD $78.99/month.
- Student and Teacher Plan: A significant discount is available, with the All Apps plan starting at CAD $25.99/month.
- Business and Team Plans: These offer additional collaboration features, with Premiere Pro at CAD $49.99/month per license.
Adobe offers a free trial to test the software before committing.
What are the system requirements for Premiere Pro?
Video editing is resource-intensive. For a smooth experience, here are the recommended specs:
- Operating System: A recent version of Windows or macOS.
- Processor (CPU): Intel Core i7/i9 or AMD Ryzen 7/9, especially for 4K footage.
- RAM: 16GB is the minimum, but 32GB or more is strongly recommended for serious video work.
- Graphics Card (GPU): A card with 8GB of VRAM or more is ideal for 4K editing. Keep your drivers updated.
- Storage: An SSD is essential for your OS and applications. Use a separate, fast SSD or NVMe drive for your media files.
- Screen Resolution: 1920×1080 is recommended for comfortable editing.
Where can I find more tutorials to learn Premiere Pro?
A wealth of learning resources is available.
- Adobe’s Official Tutorials: The free Premiere Pro tutorials | Learn how to use Premiere Pro page offers excellent, structured lessons for all skill levels.
- Community Forums: Adobe’s forums are a great place to get help from experienced users.
- Online Courses: Many platforms offer structured courses that guide you through complete projects.
At Christian Daniel Designs, we’ve been using Film editing Premiere Pro professionally for over two decades, creating content for major hospitality brands like The Plaza Hotel and Park Hyatt Chicago. The learning curve is real, but it’s also incredibly rewarding. Start with the basics, practice consistently, and don’t be afraid to experiment. That’s how the best editors are made.
Conclusion: Bring Your Vision to Life
We’ve covered the journey from a new project to a polished final export in Film editing Premiere Pro. This powerful software is a practical, accessible tool for anyone with a story to tell.
Premiere Pro’s versatility makes it ideal for editing Short Form Video Editing, dynamic Music Videos, or polished Professional Video Editing for a brand campaign. It adapts to your needs, growing with you from beginner basics to advanced techniques.
For hospitality and creative businesses, compelling video is essential. Film editing Premiere Pro provides the tools to turn raw footage into content that engages your audience.
As Christian Daniel, I’ve spent over 20 years using these techniques for clients like The Plaza Hotel and Park Hyatt Chicago, seeing how professional editing drives business results. At Christian Daniel Designs, we combine technical expertise with Strategic Video Marketing to help brands from New York City to San Diego tell their stories with impact.
Whether you’re learning to edit or need professional results now, we can help. Explore our professional video editing services to elevate your next project and let’s bring your vision to life. Your story deserves to be told beautifully.