Premiere Pro for Beginners: Master in 2025!
Why I Recommend Premiere Pro for Your Editing Journey
If you’re serious about video editing, Premiere Pro for beginners is one of the best investments you can make. Whether you’re creating promotional content, social media videos, or branded films, this industry-standard software gives you the tools to bring your vision to life—without a steep learning curve.
Here’s a quick overview of Premiere Pro for beginners:
- What it is: Adobe’s flagship video editing software used by professionals.
- Why beginners choose it: A user-friendly interface that grows with your skills.
- Learning time: Master basic functions in a day; gain proficiency in 2-4 weeks.
- Key features: Cutting clips, adding titles and audio, color correction, and exporting.
- Cost: Subscription-based ($20.99/month for the single app); a free trial is available.
- Integration: Works seamlessly with other Adobe tools like After Effects and Photoshop.
The beauty of Premiere Pro is its scalability. You can start with a simple vlog today and eventually tackle complex cinematic projects—all within the same software. Films like Deadpool and Gone Girl were edited using Premiere Pro, proving its professional power, yet it remains intuitive enough for someone just starting out.
I’m Christian Daniel, founder of Christian Daniel Designs, and I’ve been editing videos for over two decades. I’ve worked on everything from award-winning promotional films for The Plaza Hotel to branded content across the United States. I use the same Premiere Pro for beginners principles I’m sharing here in every project. My goal is to help you skip the overwhelm and start editing with confidence.
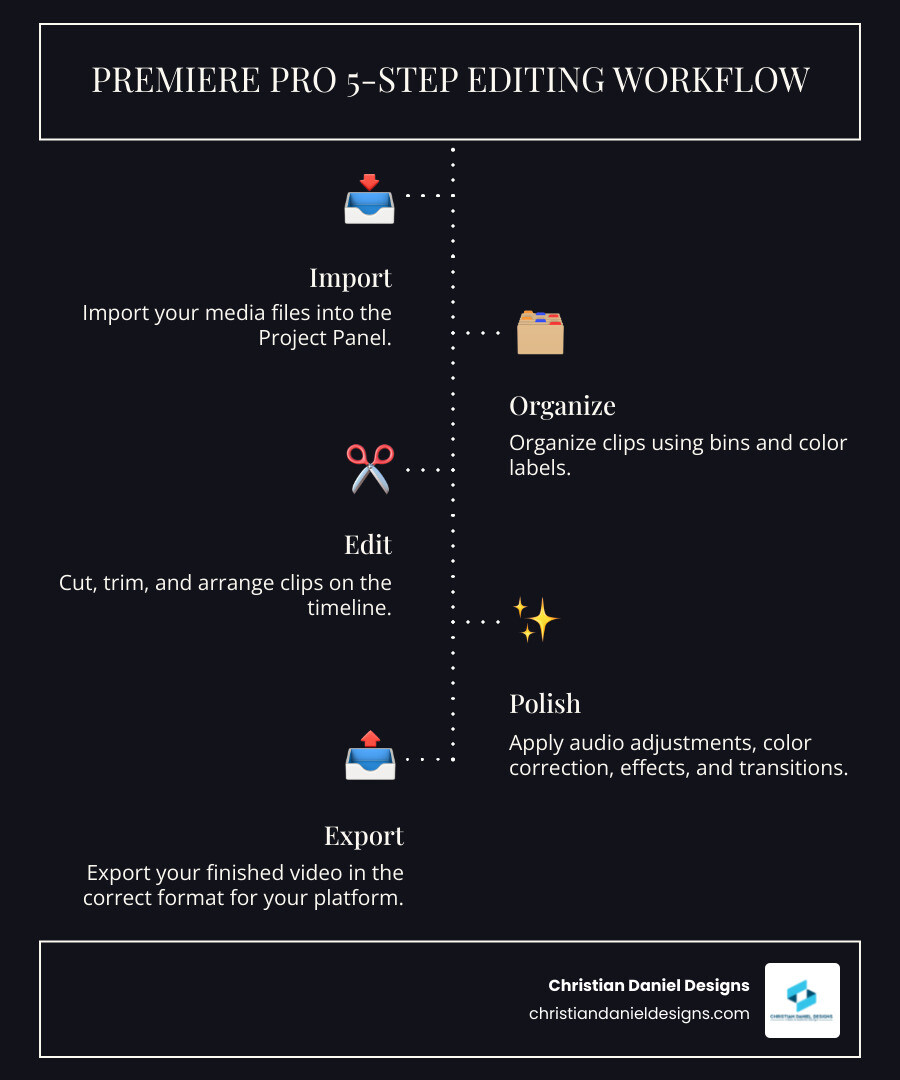
Quick Premiere Pro for beginners terms:
When I started my journey, I learned that the right tools make all the difference. I recommend Adobe Premiere Pro because it’s an ecosystem that supports your creative growth. Its seamless integration with other Adobe apps like Photoshop and After Effects is a huge plus, and the vibrant community means you can always find help in your learning journey. This combination of power, accessibility, and support makes it an excellent choice for anyone diving into video editing.
Getting Started: Your First Project from Setup to Import
Starting a Premiere Pro project can feel intimidating, but once you know the basics, it’s quite straightforward. Let me walk you through the setup process and how to import your first clips.
Installing the Software and Creating a New Project
First, you need to get Premiere Pro for beginners on your computer. Head to Adobe Creative Cloud to download the application and start your 7-day free trial.
Before you begin, ensure your computer is up to the task. Editing on an underpowered machine is incredibly frustrating. Adobe recommends at least an Intel 6th Gen or AMD Ryzen 1000 series processor, 16 GB of RAM (32 GB for 4K), and a graphics card with 4 GB of VRAM. An SSD drive is also crucial for smooth performance.
Once installed, launch Premiere Pro and click New Project. In the New Project window, give your project a descriptive name and choose a save location. I always create a master folder for each project to keep all my files—video, audio, graphics, and the project file itself—organized in one place. This prevents Premiere Pro from losing track of your media.
For sequence settings, I advise beginners to leave them on “Automatic.” Premiere Pro will match the sequence to the first clip you add to your timeline. Click Create, and you’ve officially started your first project.
Understanding the Premiere Pro Workspace
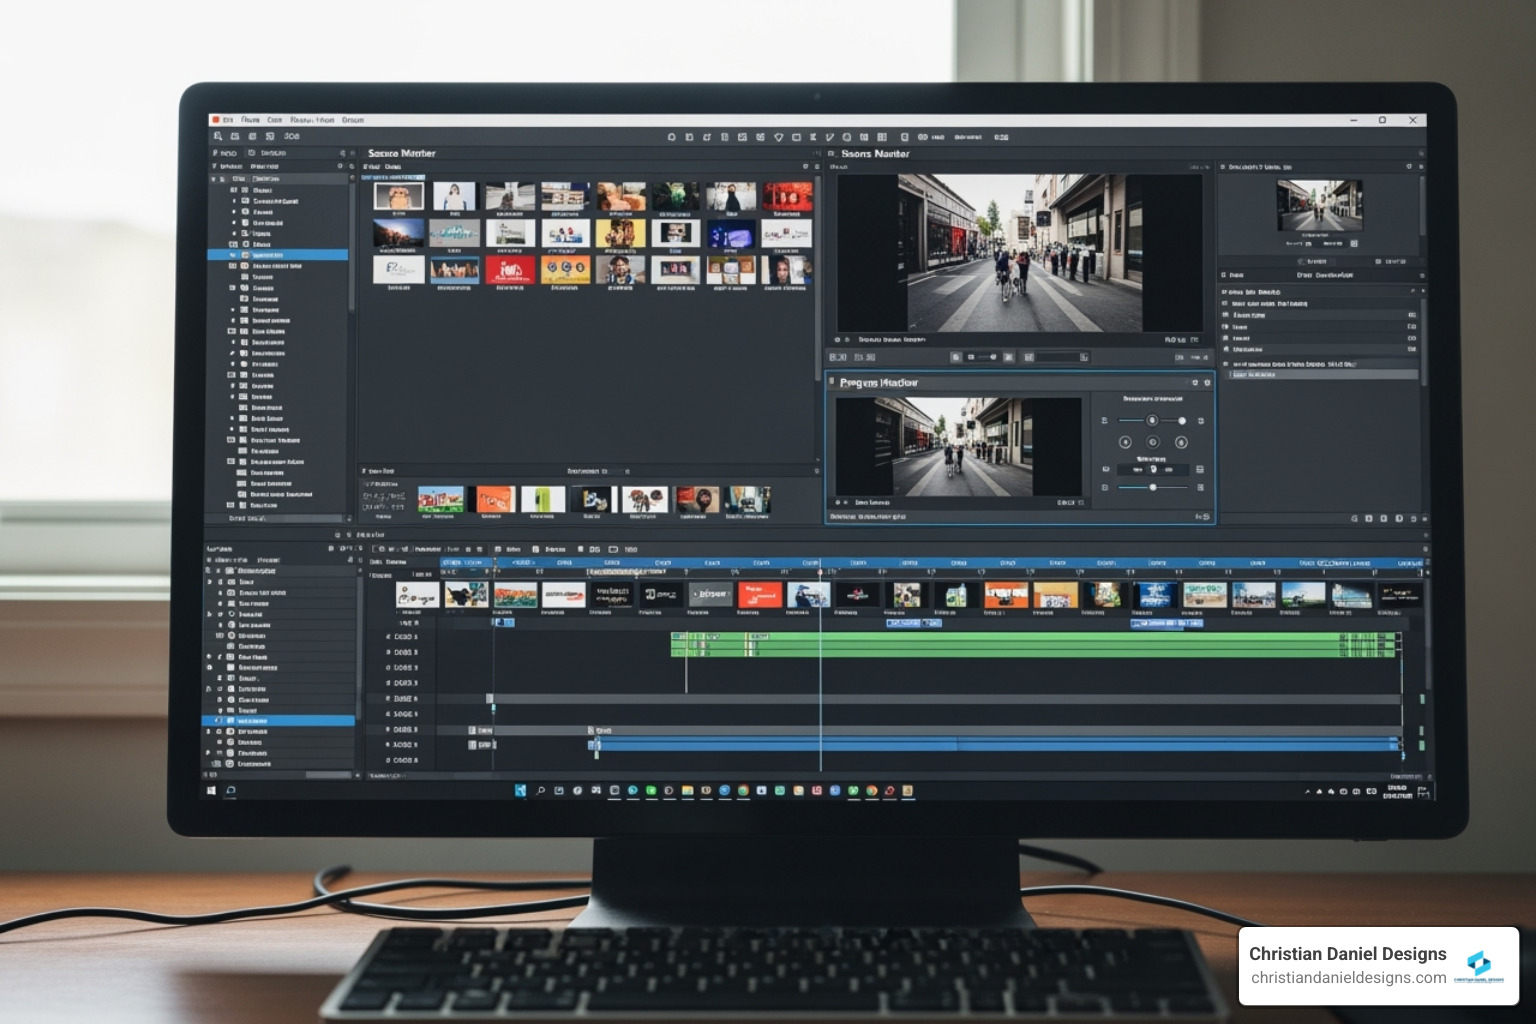
The Premiere Pro interface might look complex, but you only need to understand a few key areas to start. Stick with the Editing workspace (Window > Workspaces > Editing) for your first projects.
Here are the five essential panels:
- Project Panel: Your digital filing cabinet for all imported media.
- Source Monitor: Preview raw footage and select the parts you want to use.
- Program Monitor: Shows your edited sequence in real-time—this is your final video.
- Timeline Panel: Where the editing happens. You’ll arrange, cut, and build your story here.
- Tools Panel: Contains your essential editing tools like the Selection and Razor tools.
Once you grasp what each panel does, the interface becomes a well-organized creative space. For a deeper look, check out Adobe’s interface guide for beginners.
How to Import and Organize Your Media
Good organization is essential for an efficient workflow. Before importing, create a master project folder on your computer with subfolders for “Video,” “Audio,” and “Graphics.” Premiere Pro links to your files, so keeping them organized from the start prevents future headaches.
To import files, you can drag and drop them into the Project Panel or use File > Import. I prefer using the Media Browser panel, which lets you preview clips before importing.
Once your media is in the Project Panel, create bins (they look like folders) to keep things tidy. I make bins for “Video,” “Audio,” “Graphics,” and “Sequences.” Drag your clips into the appropriate bins.
I also recommend renaming your clips to something descriptive (e.g., “BeachSunsetWide” instead of “Clip001.mp4”). Another great organizational tool is color labels. Right-click a clip, select “Label,” and choose a color to visually categorize your footage. These small steps save a massive amount of time later. For more strategies, Adobe has a guide on organizing assets in the Project Panel.
The Core Editing Workflow: From First Cut to Final Polish
With your media organized, it’s time to bring your story to life on the timeline. This is where you’ll shape your raw footage into a cohesive video.
Basic Editing: My Guide for Premiere Pro for beginners
When I teach Premiere Pro for beginners, I focus on the fundamentals that build confidence quickly. First, create a sequence by dragging a video clip from the Project Panel onto the empty Timeline Panel. Premiere Pro will automatically create a sequence with matching settings.
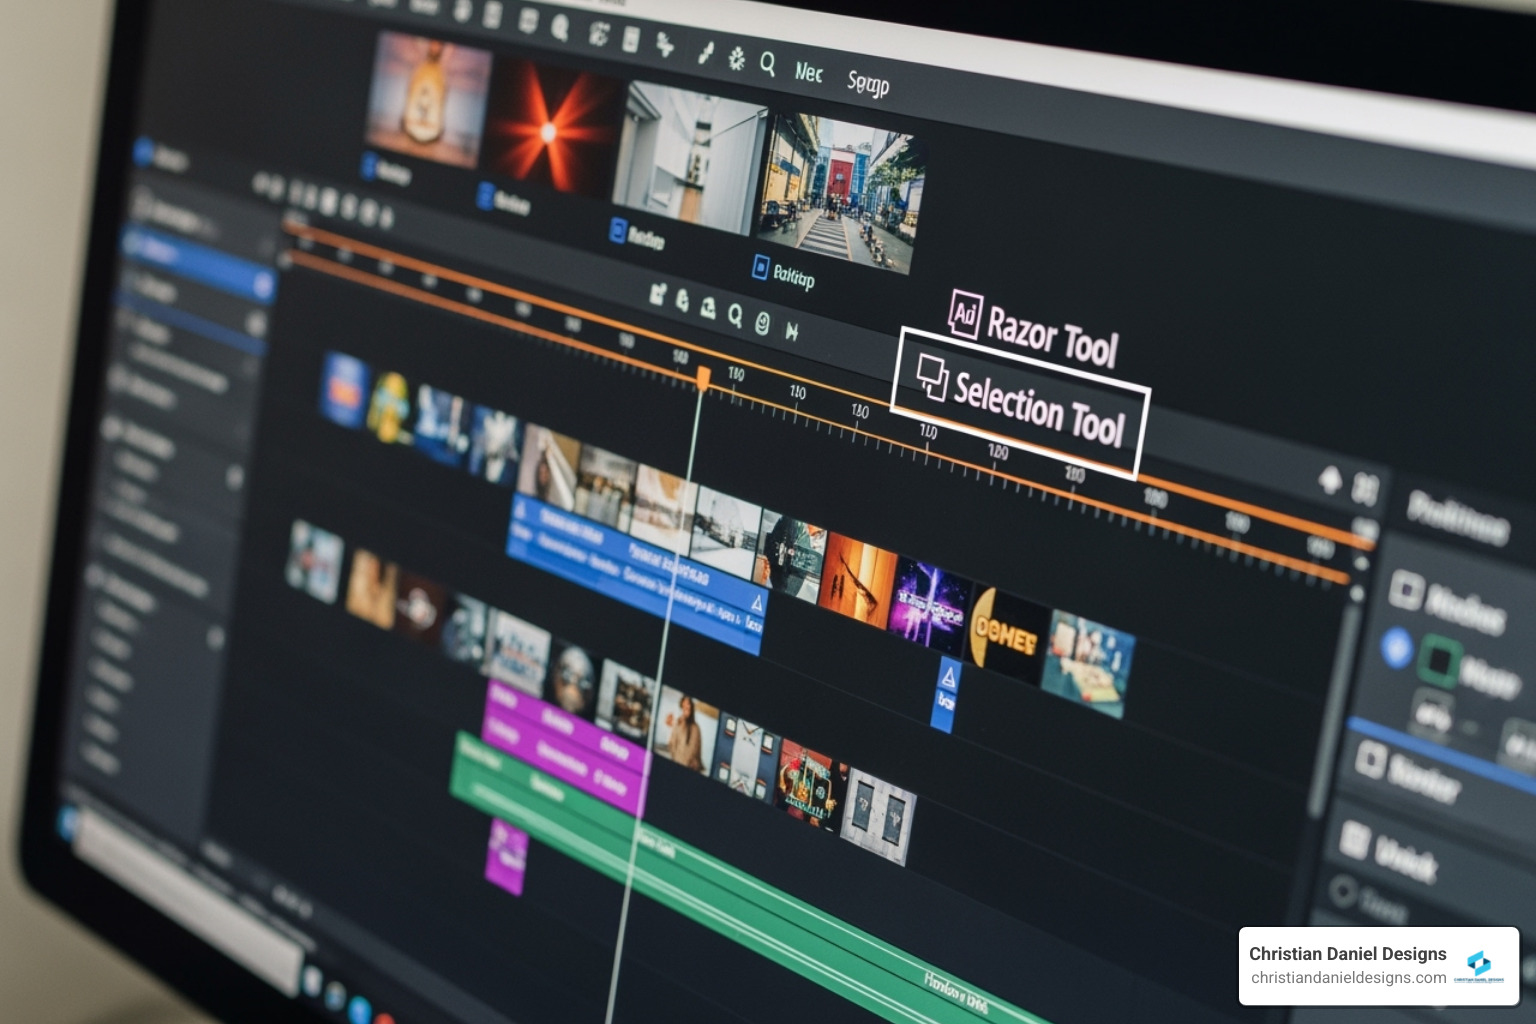
These are the tools you’ll use constantly:
- Selection Tool (V): Your primary tool for selecting, moving, and trimming clips.
- Razor Tool (C): Use this to cut a clip into two separate pieces.
To trim a clip, hover your mouse over its edge with the Selection Tool until you see a red bracket, then click and drag to shorten or extend it. To arrange clips, simply click and drag them into a new order on the timeline.
One of my favorite efficiency tools is the Ripple Edit Tool (B). When you trim a clip with it, all subsequent clips automatically shift to close the gap, saving you from manually moving everything.
For an even faster workflow, use In and Out points. In the Source Monitor, press I to mark the start of a selection and O to mark the end. Then, drag just that segment to your timeline. This is far more efficient than trimming full clips later. Start with a “rough cut” to get the story in order, and don’t worry about perfection yet. For more on these techniques, see Adobe’s guide to cutting and trimming.
Adding Text, Titles, and Simple Audio
Once your video’s structure is in place, it’s time to add polish with text and sound. I recommend using the Graphics workspace (Window > Workspaces > Graphics) to access the Essential Graphics panel.
To add text, select the Type Tool (T), click in the Program Monitor, and start typing. You can customize the font, size, and color in the Essential Graphics panel. The text layer appears on a video track above your footage, and you can trim its duration just like any other clip.
Good audio is half the battle. To add background music, drag your audio file to an audio track on the timeline. To adjust volume, select the clip and use the “Level” property in the Effect Controls panel, or simply drag the yellow line on the audio clip itself.
For quick audio adjustments, the Essential Sound panel (Window > Essential Sound) is a lifesaver. Classify your clip as Dialogue, Music, or SFX, and use intelligent controls for loudness, clarity, and even “Ducking,” which automatically lowers music volume during dialogue. For more advanced techniques, check out my guide on In-depth Audio Editing in Premiere Pro.
Applying Basic Color, Effects, and Transitions
Now, it’s time to give your video some visual flair. The Lumetri Color panel (found in the Color workspace) is your go-to tool for color correction.
In the “Basic Correction” section, use the Exposure and Contrast sliders to adjust brightness and pop. The Highlights & Shadows sliders help recover detail in bright or dark areas. To fix an unnatural color cast, adjust the white balance with the “Temp” and “Tint” sliders or use the eyedropper tool.
In the “Creative” section, you can apply LUTs (Look Up Tables), which are like filters for your video. They can instantly give your footage a cinematic look, but use them subtly.
The Effects panel (Window > Effects) contains video effects and transitions. To add an effect like Warp Stabilizer (great for shaky footage), drag it onto a clip and adjust its properties in the Effect Controls panel.
For transitions, the Cross Dissolve is the most versatile. Drag it between two clips for a smooth blend. A common beginner mistake is overusing flashy transitions; simple cuts are often more effective. If you want to dive deeper, I have an Ultimate Guide to Color Grading in Premiere Pro.
Finishing Touches: Exporting, Common Mistakes, and Pro Shortcuts
Once your edit is complete, the final step is exporting it as a playable video file. This process is simpler than it looks.
How to Export Your Finished Video
Exporting is straightforward with the right settings. Go to File > Export > Media to open the Export Settings window.
- Format: Choose H.264. It’s the industry standard for online video, offering great quality at a manageable file size.
- Preset: Select a preset that matches your destination. “YouTube 1080p Full HD” is a perfect choice for most online uploads.
- Output Name: Click the blue text to name your file and choose where to save it.
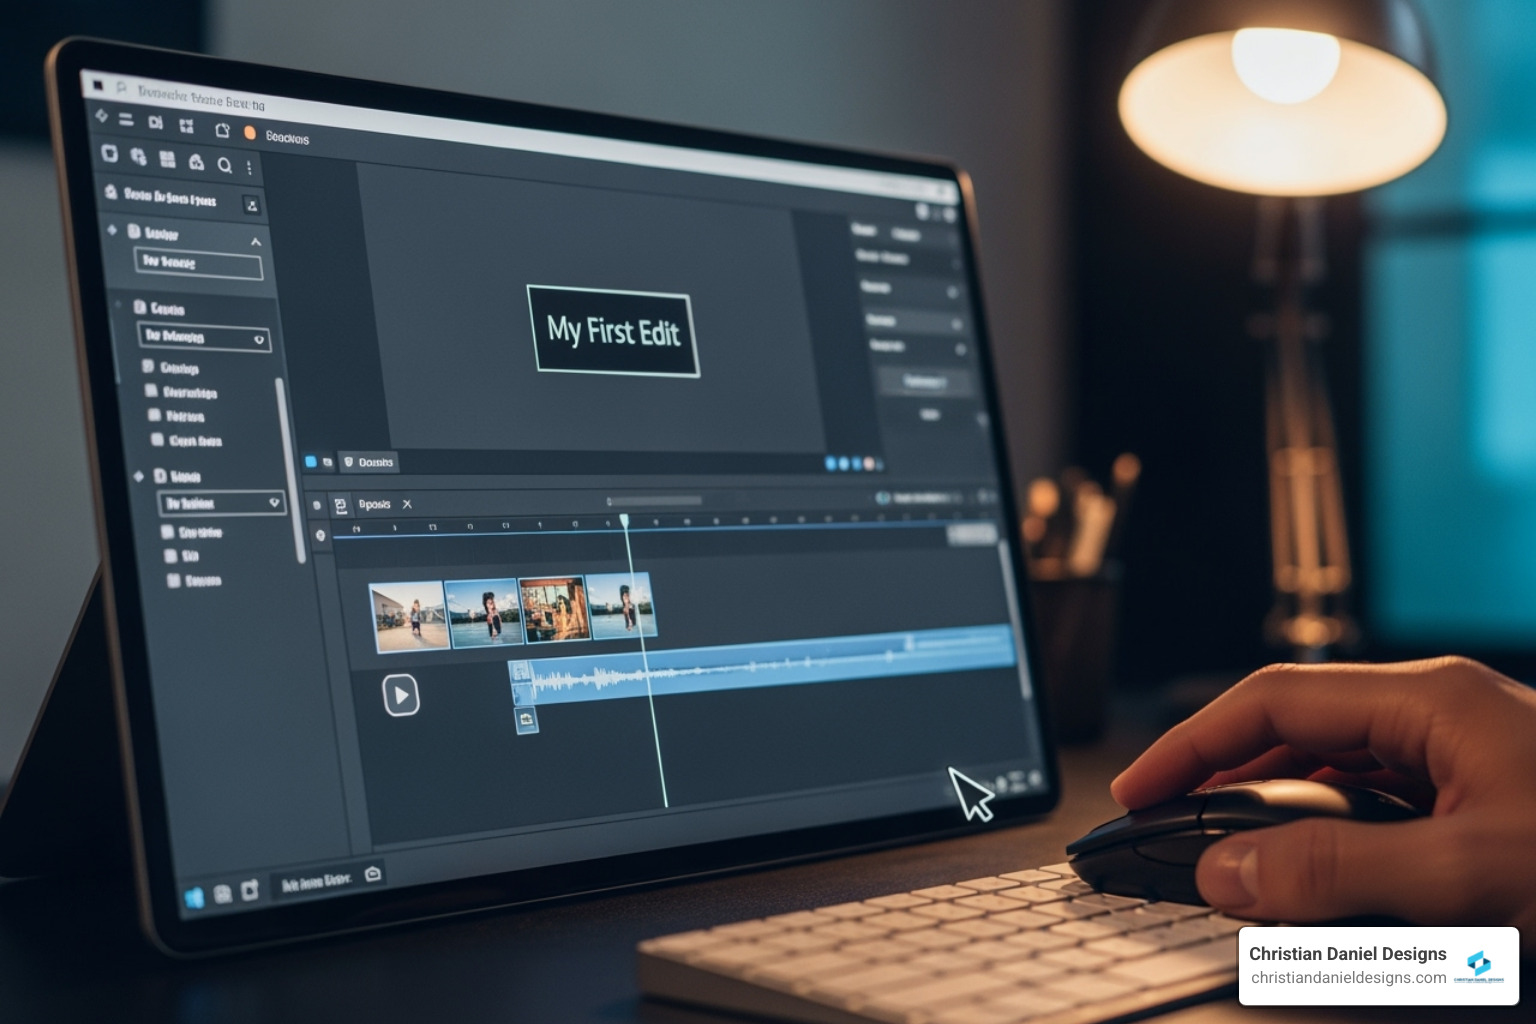
After reviewing the summary, click the Export button. Rendering time will vary depending on your project’s complexity and your computer’s power. For a full breakdown of settings, I’ve created The Ultimate Guide to Exporting Video in Premiere Pro.
Common Mistakes I Made as a Premiere Pro Beginner (And How to Avoid Them)
I learned these lessons the hard way so you don’t have to. Here are common mistakes to avoid:
- Forgetting to save: Press Ctrl + S (Windows) or Cmd + S (Mac) obsessively. Also, enable the Auto-Save feature in your preferences (Edit > Preferences > Auto Save).
- Disorganized media files: Keep all project files in one master folder. If you move source files after importing, Premiere Pro will show “Media Offline” errors.
- Overusing transitions and effects: Simple cuts are often the most effective. Use transitions purposefully to improve the story, not distract from it.
- Ignoring audio quality: Viewers are less forgiving of bad sound than imperfect visuals. Always check your audio levels and listen with headphones before exporting.
- Incorrect sequence settings: For Premiere Pro for beginners, the easiest way to avoid issues is to let Premiere Pro create a sequence automatically by dragging your first clip to the timeline.
- Not using proxies for 4K footage: If your computer struggles with high-resolution footage, create proxies. These are low-resolution stand-ins that dramatically improve editing performance without affecting final quality.
Essential Keyboard Shortcuts to Speed Up Your Workflow
Keyboard shortcuts will dramatically speed up your editing. Learning just a few will make you feel like a pro.
- V: Selection Tool (for selecting and moving clips)
- C: Razor Tool (for cutting clips)
- B: Ripple Edit Tool (for trimming and closing gaps)
- I / O: Mark In / Mark Out (for selecting portions of a clip)
- Spacebar: Play / Pause
- J-K-L: Shuttle controls (J for reverse, K for pause, L for forward)
- Ctrl/Cmd + Z: Undo
- Ctrl/Cmd + S: Save
Mastering these will make you a faster, more confident editor. For more, check out Adobe’s full list of keyboard shortcuts.
Frequently Asked Questions about Premiere Pro for beginners
I get asked these questions all the time by aspiring editors. Here are my answers based on two decades of experience.
Can I really learn Premiere Pro by myself?
Yes, you can absolutely learn Premiere Pro for beginners on your own. Most successful editors I know are self-taught. The resources available today are incredible, from Adobe’s official tutorials to countless YouTube channels that offer step-by-step guides.
Platforms like Coursera and Skillshare also offer structured courses if you prefer that approach. However, the real secret is practice. The best way to learn is by doing. Start with small, personal projects, experiment, and learn from your mistakes. Consistent, hands-on experience is more valuable than any tutorial.
How long does it take to learn the basics of Premiere Pro?
This depends on your definition of “learn,” but the timeline is encouraging.
- In a single day: You can learn the absolute basics—importing, cutting, adding a title, and exporting. You’ll have created a real video.
- In 2-4 weeks: With consistent practice, you can achieve proficiency. This means you can confidently manage projects, perform various edits, work with audio and text, and export polished videos.
- Mastery takes longer: True mastery of advanced techniques like complex color grading, motion graphics, and multi-camera editing takes months or even years of continuous learning.
You don’t need to master everything to create impressive work. You can produce quality content within weeks and build your skills from there.
Is Premiere Pro worth the cost for a beginner?
Premiere Pro has a subscription cost (around $20.99/month), but in my professional opinion, yes, it’s worth it, even for a beginner. Here’s why:
- It’s the industry standard. Learning Premiere Pro gives you marketable skills that are valuable in the professional world. If you want to freelance or work in video production, this experience is crucial.
- It grows with you. Unlike simpler programs you might outgrow, Premiere Pro has no ceiling. The same software can handle your first project and your most complex film years from now.
- It integrates with other Adobe apps. The seamless workflow with Photoshop and After Effects is a massive time-saver for anyone doing graphics or motion work.
I always recommend starting with Adobe’s free 7-day trial. Use it to create a small project and see how it feels. While free alternatives like DaVinci Resolve exist, I believe Premiere Pro is a smart investment in your creative future and professional credibility.
Conclusion: Your Next Step in Video Editing
I’ve covered the essentials to kickstart your journey with Premiere Pro for beginners, from setup and importing to editing, polishing, and exporting. I’ve also shared common mistakes to avoid and shortcuts to speed up your workflow.
Now, I want you to remember one thing: practice is everything. Video editing is a hands-on skill. I made countless mistakes when I started over two decades ago, but each one was a valuable lesson that helped build the skills I use today.
Don’t be afraid to experiment. Your first video doesn’t need to be perfectit just needs to exist. The act of creating builds confidence and understanding faster than any tutorial.
As an NYC video editor at Christian Daniel Designs, I rely on these fundamentals daily, whether I’m crafting a promotional film for a luxury hotel or a social media clip for a hospitality brand. Every complex project is built on the same foundation you’re learning now.
So, what’s your next step? I encourage you to open Premiere Pro today and start a small project. Import some clips, make some cuts, and feel the accomplishment of bringing your vision to life. The best way to learn is by doing.
Ready to dive deeper and continue improving your video editing skills? I’ve got plenty more insights and techniques waiting for you.
Explore more Video Editing tips and tricks


