Audio editing Premiere Pro: Master 2025
Why Audio Quality Can Make or Break Your Content
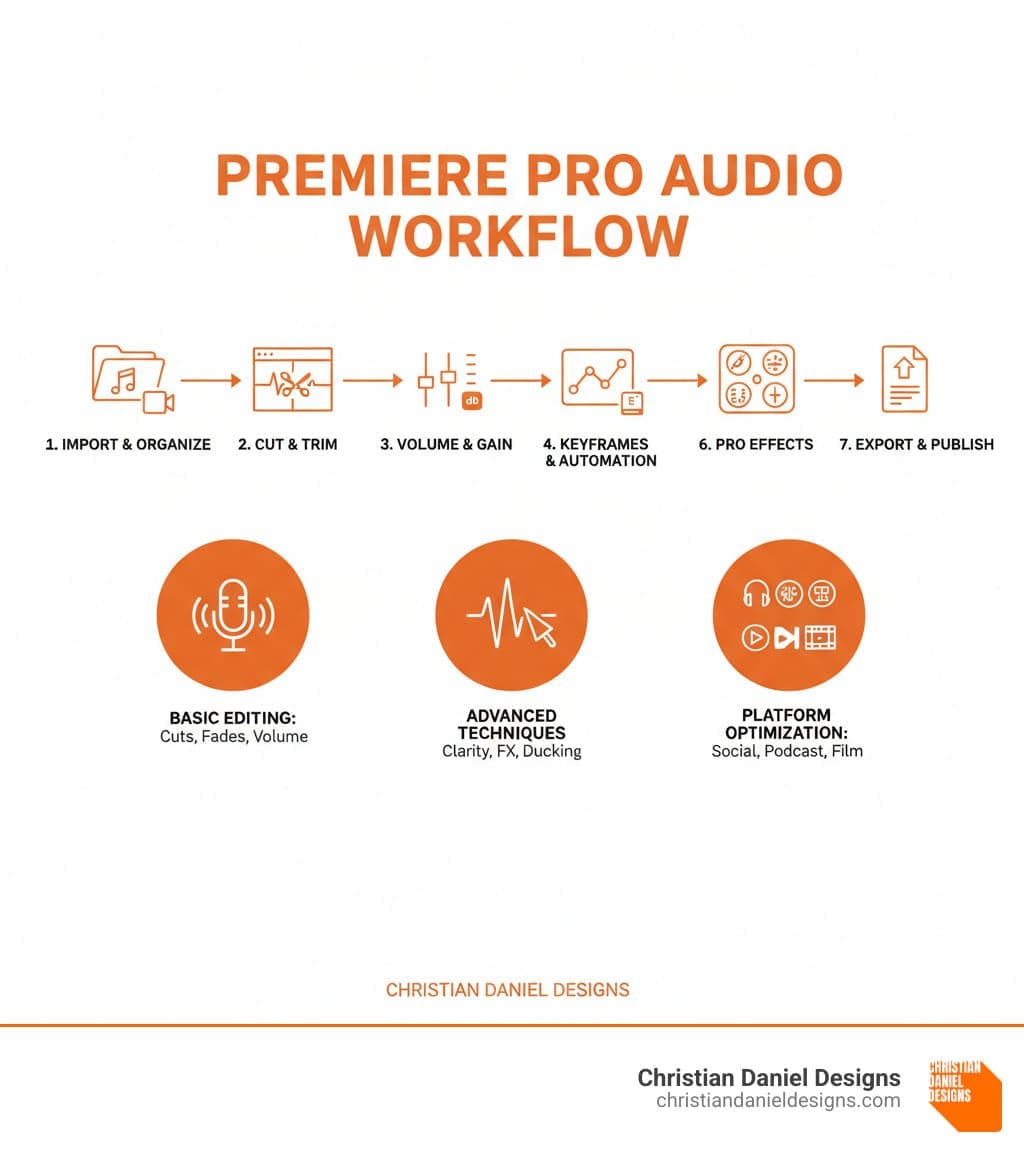
Audio editing Premiere Pro is your gateway to changing poor sound into professional-grade content. Here’s what you can accomplish:
Essential Audio Editing Tasks in Premiere Pro:
- Import and organize audio clips with proper track management
- Cut, trim, and adjust audio clips using the Razor Tool and timeline editing
- Balance volume levels with Audio Gain, keyframes, and the Essential Sound Panel
- Improve speech clarity using AI-powered tools like Improve Speech and DeNoise
- Create smooth transitions with crossfades and audio ducking
- Apply professional effects like EQ, compression, and reverb
- Sync separate audio and video recordings automatically
- Export high-quality audio in formats optimized for your platform
Sound quality is critical. Professionals know that great audio is at least 51% of content, as poor sound can make viewers abandon even the most visually stunning videos. The good news is that Adobe Premiere Pro excels in audio production.
Unlike programs where audio is an afterthought, Premiere Pro brings professional-level sound design into your editing suite. With tools like the Essential Sound Panel and Adobe Audition integration, you can mix, edit, and improve audio in one place.
Whether you’re polishing dialogue for a promotional video, balancing music for a hotel showcase, or cleaning up client testimonials, Premiere Pro’s toolkit delivers professional results without years of audio engineering experience.
I’m Christian Daniel, founder of Christian Daniel Designs. With over two decades producing award-winning video content for clients like The Plaza Hotel and Park Hyatt Chicago, I have experience in audio editing Premiere Pro workflows. In this guide, I’ll show you how to transform your audio from amateur to professional.
Getting Started: Your Audio Workspace Setup
Before diving into audio editing Premiere Pro, a professional workspace setup is essential. Smart organization is the secret to a smooth workflow and will save you hours of frustration.
Understanding the Premiere Pro Audio Interface
Understanding Premiere Pro’s audio track types is key to efficient editing. Each serves a specific purpose:
- Standard tracks are versatile, handling both mono and stereo clips, making them a reliable default.
- Mono tracks are best for dialogue and voiceovers, keeping vocals centered and clear.
- Stereo tracks are perfect for music and sound effects that require a rich left-right audio field.
- Adaptive tracks are highly flexible, containing mono, stereo, and multi-channel clips in one place. This is a lifesaver for audio from professional cameras or merged clips.
- 5.1 surround tracks are for projects requiring immersive sound with front, rear, and LFE channels.
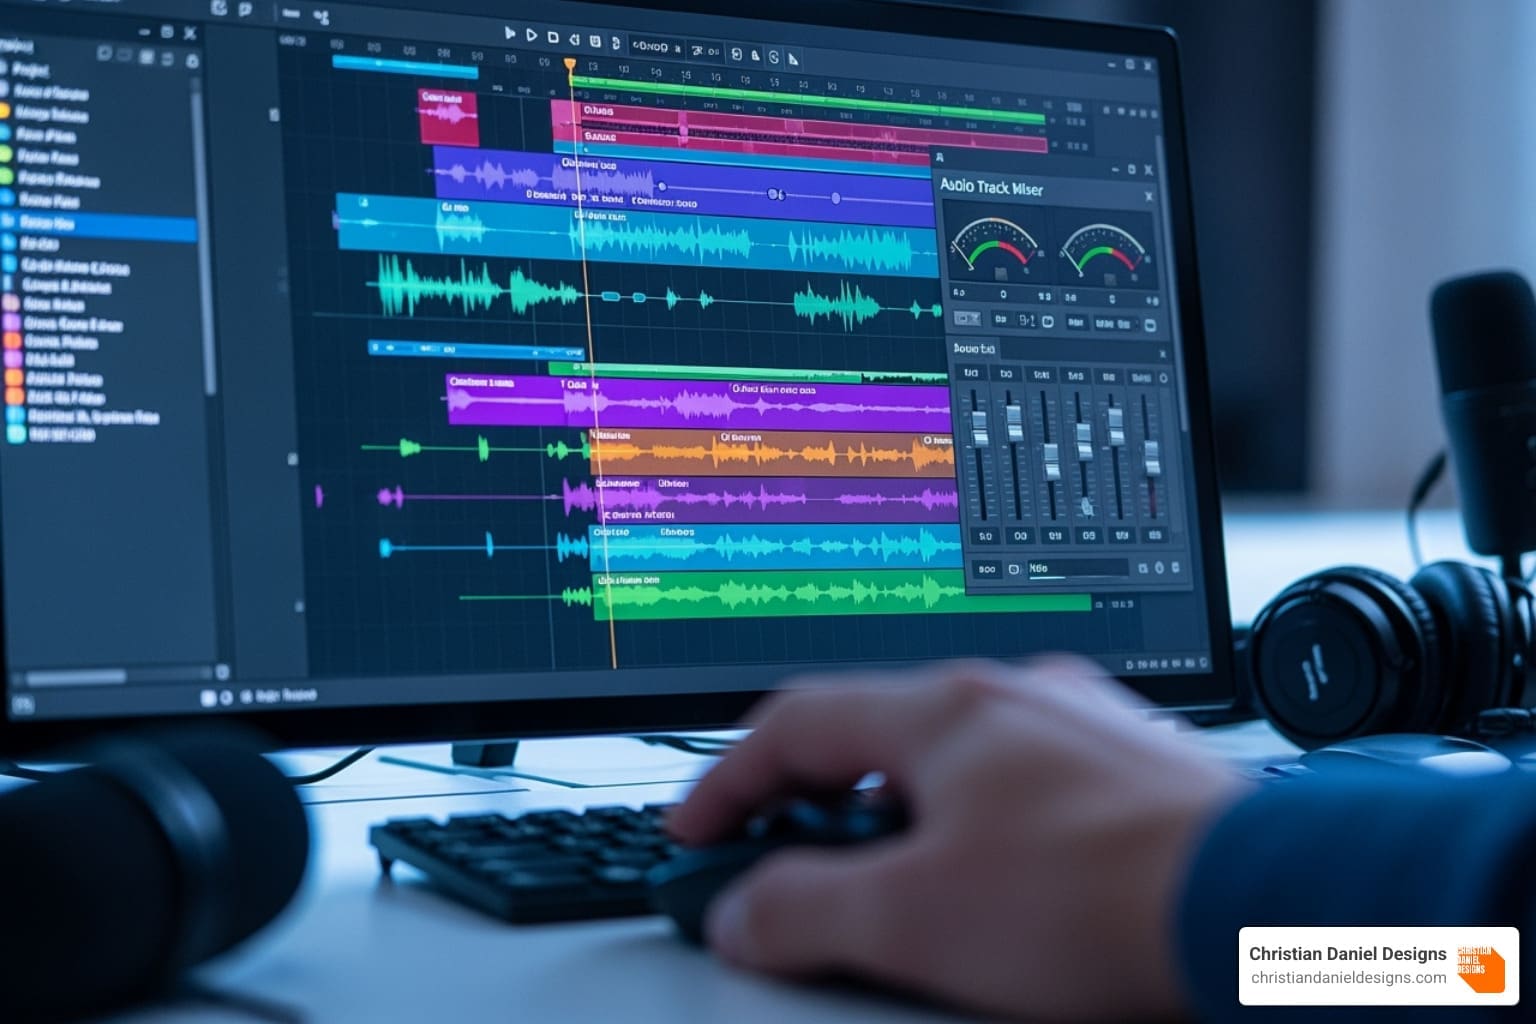
Visually, Premiere Pro displays audio as waveforms in the timeline, where height indicates loudness. Adjusting track height reveals more detail for precise editing. The Audio Meters provide a real-time visual of your levels, helping you avoid peaking (too loud) or being too quiet.
For more on these concepts, see Adobe’s guide: Overview of audio in Premiere Pro.
Organizing Your Audio Clips for an Efficient Workflow
Smart organization separates amateur projects from professional ones. Here’s a proven workflow for audio editing Premiere Pro.
Import audio via the Project panel (File > Import or drag-and-drop). Drag clips to the timeline to create a sequence, or make one manually (File > New > Sequence).
Next, create separate tracks for different audio types. I recommend dedicated tracks for dialogue, music, and sound effects. Immediately rename your tracks from “Audio 1” to descriptive names like “Interview VO” or “Background Music.” This simple step prevents confusion.
Color-coding your clips provides another layer of visual organization, letting you identify audio types at a glance. Use Project panel bins to organize raw files, keeping even complex projects manageable.
The Audio Track Mixer and Essential Sound panel are your command centers for mixing, which we’ll explore later. This organized foundation makes your workflow intuitive, letting you focus on creativity.
The Fundamentals of Audio Editing in Premiere Pro
With an organized workspace, you can master the essential audio editing Premiere Pro techniques. These fundamental skills—cuts, trims, and volume adjustments—are the foundation of professional-sounding content.
Basic Cuts, Trims, and Clip Adjustments
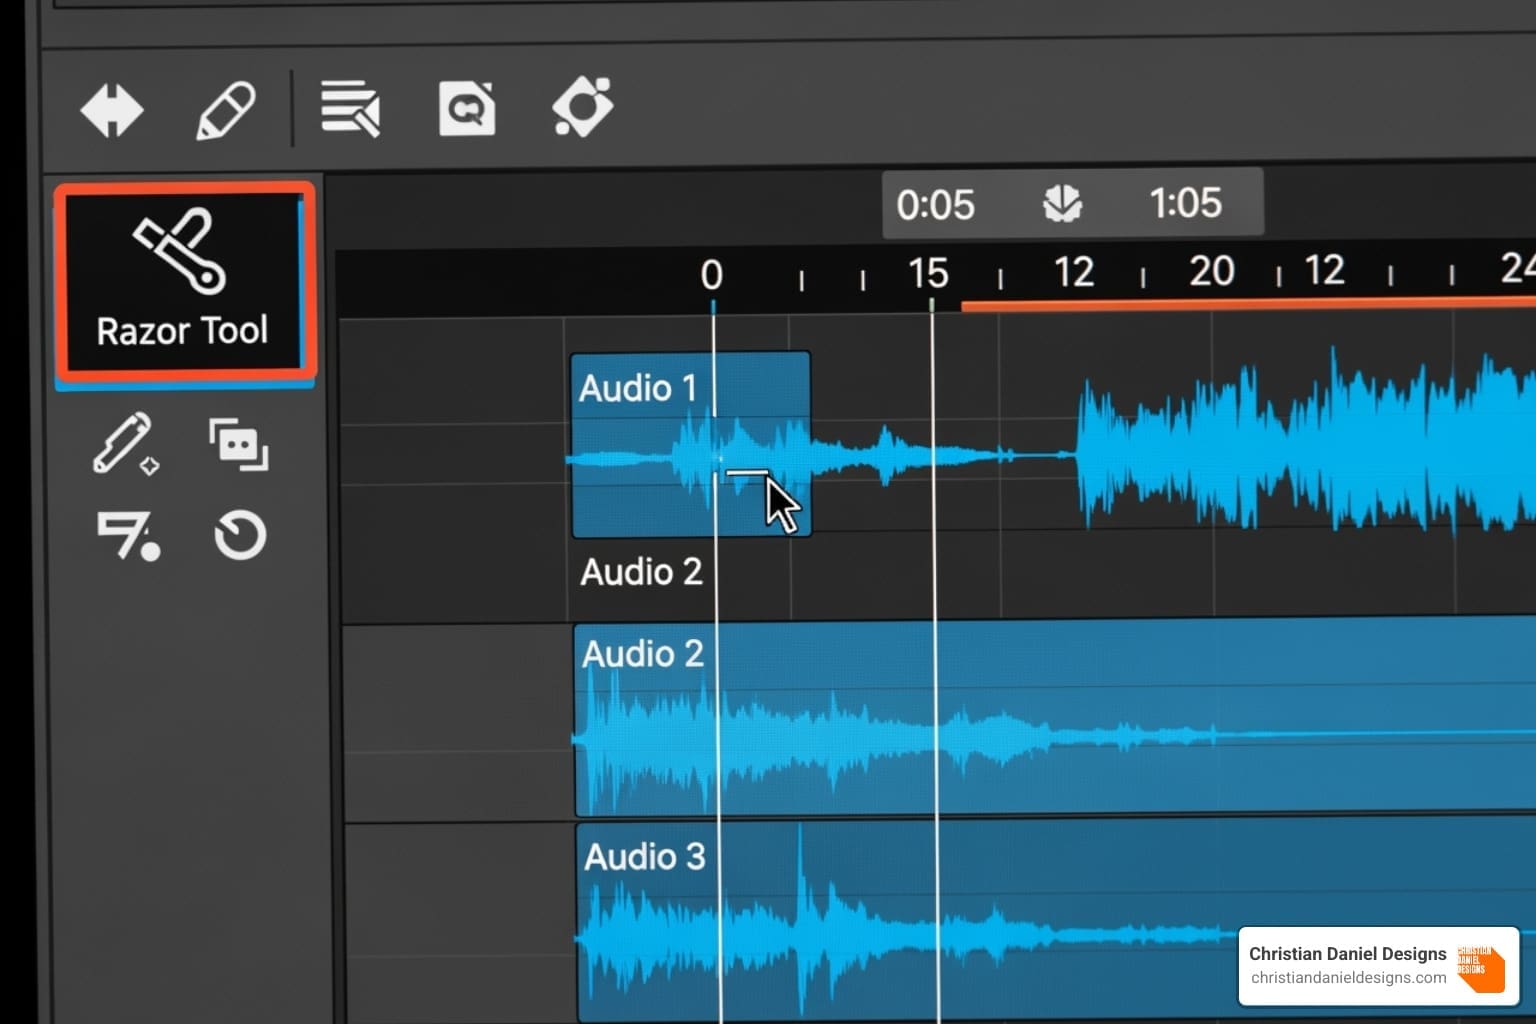
Precise cuts and adjustments are where every great edit begins. The Razor Tool (C) splits audio clips with a click. For more precision, use Ctrl + K (Windows) or Command + K (macOS) to cut at the playhead.
Trimming clips is also straightforward. Hover your cursor over a clip’s edge to see the trim tool, then click and drag to shorten or extend it. For frame-accurate precision, switch your sequence to show audio samples via the sequence settings menu.
Premiere Pro automatically links audio and video, but you can edit them separately. Right-click a clip and select “Unlink” or use the shortcut Ctrl + L (Windows) or Command + L (macOS). To adjust just the audio or video of a linked clip temporarily, hold Alt (Windows) or Option (macOS) while clicking.
Split edits create a more professional flow. J-cuts bring in the audio from the next clip before the video, while L-cuts let the current audio continue over the next shot. These techniques make conversations feel natural and engaging. Create them by unlinking clips or setting separate In/Out points in the Source Monitor. For more details, see Adobe’s guide: Editing audio in the timeline.
Adjusting Volume and Creating Fades
Proper audio levels separate amateur videos from broadcast-ready content. Understanding Audio Gain vs. Volume is crucial. Volume is the level adjusted on the timeline, while Audio Gain adjusts the clip’s source input level before other effects.
For precise control, right-click a clip and select “Audio Gain.” Here you can set exact decibel values or use the Normalize function. Normalizing brings multiple clips to a consistent peak level (e.g., -6dB), which is useful for clips recorded at different volumes.
The gain line on your timeline clips provides visual feedback. If it’s not visible, enable “Show Audio Keyframes” in the timeline’s wrench icon menu.
Creating smooth fades is essential. For simple fades, drag the small fade handles at the top corners of an audio clip. For transitions between clips, use crossfades. In the Effects panel, find Audio Transitions > Crossfades. Constant Power is a great default for most situations, while Exponential Fade offers a more dramatic curve. Drag the effect between two clips for a seamless transition.
Advanced Techniques for Professional Sound
With the basics mastered, it’s time to lift your sound to a professional level. The advanced tools in audio editing Premiere Pro allow you to refine, improve, and repair audio with incredible sophistication. These techniques are what separate amateur content from professional productions.
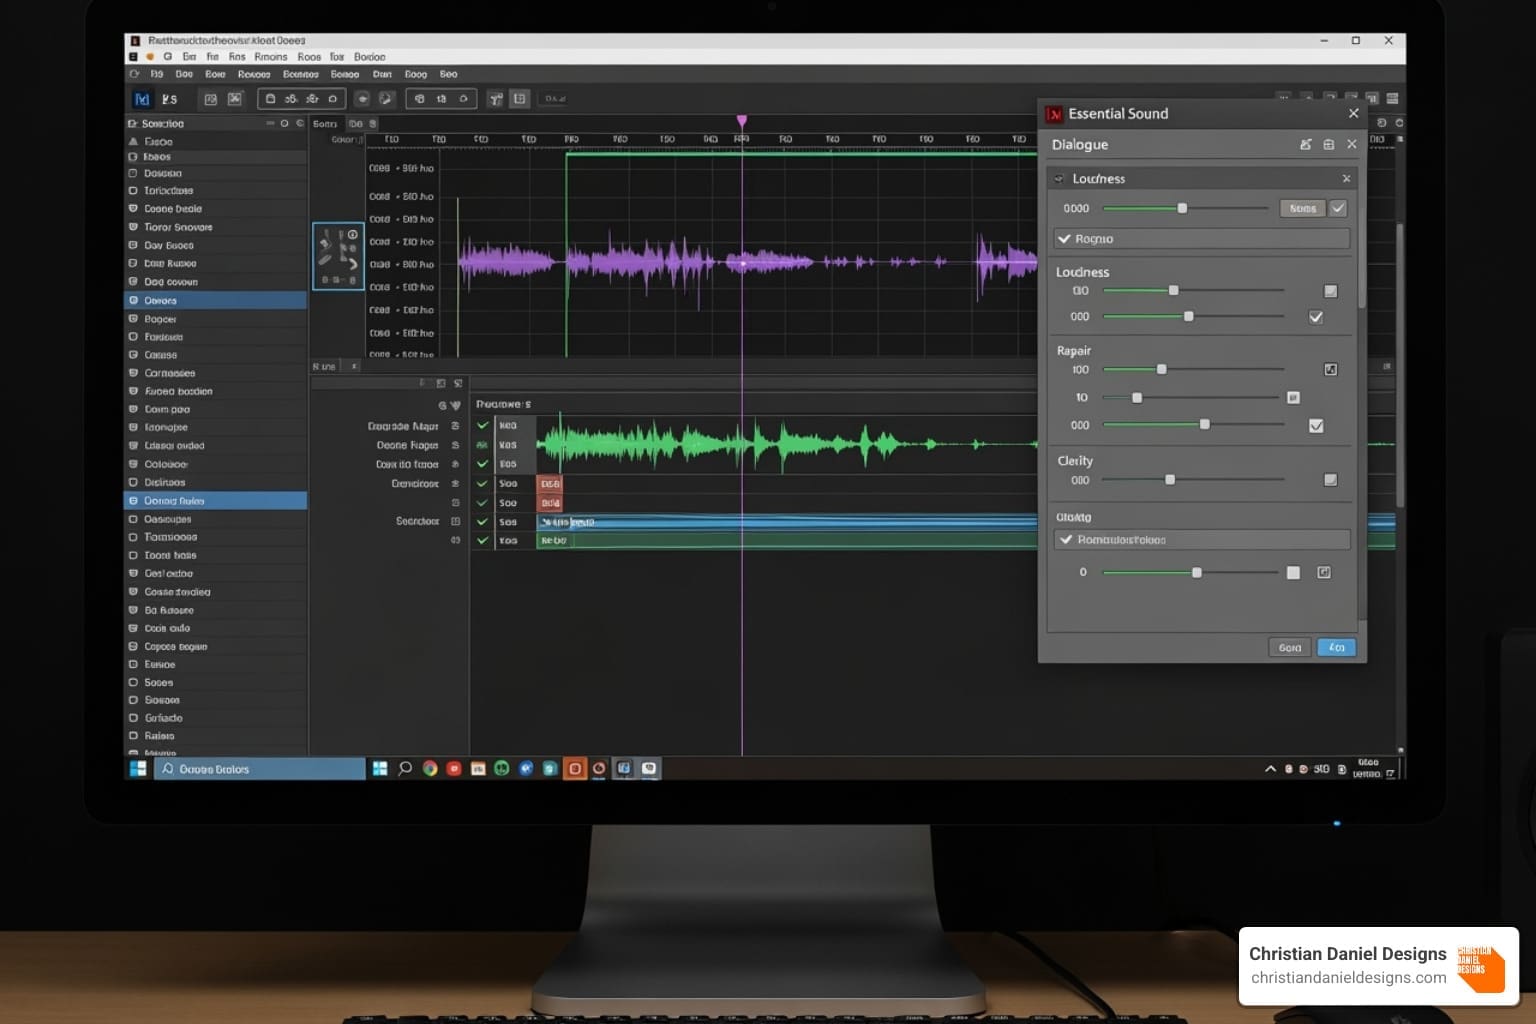
Using the Power of the Essential Sound Panel
The Essential Sound panel is a game-changer, offering intelligent suggestions and automated fixes. The first step is audio tagging. Select your clips and tag them as Dialogue, Music, SFX, or Ambience. This open ups context-specific tools.
For dialogue, the AI-powered Improve Speech feature can dramatically clean up audio recorded in noisy environments. The Auto-Match loudness feature ensures consistent volume across all clips, eliminating jarring level changes.
A standout feature is Auto-Ducking for music. This automatically lowers music volume when dialogue is present and smoothly raises it during pauses, creating a professional mix without manual keyframing.
The panel’s Repair tools are also powerful. Reduce Noise minimizes background sounds like AC hum or traffic, while Reduce Reverb cleans up audio from echoey spaces. These tools can salvage otherwise unusable recordings.
Precise Control with Keyframe Automation
For surgical precision, keyframing is your secret weapon. Keyframes are markers that tell Premiere Pro what to do at specific moments. Use the Pen tool to click on a clip’s volume line and add keyframes, creating control points for volume, effects, or other properties.
Creating custom volume ramps with keyframes lets you craft the perfect emotional arc for your audio, like building tension with music or fading out ambient sound. You can also animate audio effects, such as slowly adding reverb to a clip. Panning automation moves sound across the stereo field, creating a sense of space and movement.
Using Built-in Audio Effects for Improvement
Premiere Pro’s built-in audio effects can transform raw audio into broadcast-quality sound. Here are some essentials from the Effects panel:
- Parametric Equalizer: This is your tool for frequency shaping. Boost frequencies around 2-5kHz to add clarity to dialogue or cut low frequencies below 80Hz to remove muddy rumble.
- Multiband Compressor: This divides audio into frequency bands and compresses them independently, resulting in a more consistent, professional sound. It’s great for music and complex mixes.
- DeNoise and DeReverb: These effects offer more detailed control than the Essential Sound panel versions, making them ideal for challenging audio repair.
- Hard Limiter: This acts as a safety net, preventing audio from exceeding a set level (usually 0dB) and causing distortion. It’s crucial for broadcast and streaming.
- Dynamics: This combines a compressor, expander, gate, and limiter into one powerful effect, giving you complete control over your audio’s dynamic range.
Pro-Level Workflows and Integrations
To lift your audio editing Premiere Pro skills, explore integrations with other professional tools for the most demanding projects.
Integrating with Adobe Audition and Using VST Plugins
While Premiere Pro’s tools are powerful, sometimes you need more specialized capabilities. This is where Adobe Audition integration shines. For advanced tasks like spectral editing or complex noise reduction, right-click an audio clip in your timeline and select Edit Clip in Adobe Audition.
Through Dynamic Link, the clip opens in Audition. Any edits you make and save are automatically updated in your Premiere Pro timeline—no exporting or re-importing required. This round-trip workflow is seamless and efficient.
Third-party VST plugins expand your toolkit even further. To install them, go to Edit > Preferences > Audio > Audio Plugin Manager, add your plugin folder, and click Scan for plug-ins. A highly recommended plugin is WindRemover, which uses AI to remove wind noise from outdoor recordings—a common and frustrating audio problem.
Handling Multi-Channel Audio and Troubleshooting
Modern video production often involves multiple audio channels, such as a boom mic and two lavalier mics. Adaptive tracks are perfect for this, flexibly handling mono, stereo, and multi-channel recordings in a single track.
Channel mapping gives you precise control. Right-click a clip in the Project panel and choose Modify > Audio Channels to define how Premiere Pro interprets the audio, such as splitting a stereo file into two mono tracks.
Even with good preparation, issues can arise. For performance issues like stuttering audio, try rendering your audio (Sequence > Render Audio) or clearing your media cache (Edit > Preferences > Media Cache).
For audio sync problems with separately recorded audio, Premiere Pro’s automatic synchronization is a lifesaver. Select the video and separate audio clips, right-click, and choose Synchronize. The software analyzes the waveforms and aligns them perfectly.
Regular media cache management is crucial for a smooth workflow. Clearing the cache periodically prevents temporary files from slowing down your system, especially on large projects.
Frequently Asked Questions about Audio Editing in Premiere Pro
Here are answers to the most common audio editing Premiere Pro questions from content creators and business owners.
How do I make dialogue clearer in Premiere Pro?
Unclear dialogue can ruin a video. For crystal-clear speech, follow this process:
- Use the Essential Sound Panel: Open it (
Window > Essential Sound), select your clip, and tag it as “Dialogue.” Use the AI-powered “Improve Speech” feature for an instant clarity boost. - Apply a Parametric Equalizer: From the Effects panel, use the EQ to shape the sound. Cut muddy low-frequency rumble below 80-100 Hz and boost the presence frequencies around 1-3 kHz, where human speech is most prominent.
- Use a DeEsser: To tame harsh “S” sounds (sibilance), apply the DeEsser effect for a smoother, more professional vocal track.
- Set Proper Levels: Aim for dialogue levels to peak between -6dB and -12dB on the audio meters. This ensures clarity without distortion. Background music should be much lower, around -20dB to -30dB.
How do I sync audio and video that were recorded separately?
Syncing separate, high-quality audio with your video is simple in Premiere Pro.
In the timeline, select both the video clip (with its original audio) and the separate audio recording. Right-click the selection and choose “Synchronize.” Premiere Pro’s waveform analysis will automatically align the clips perfectly.
After syncing, you can right-click the aligned clips and select “Merge Clips.” This creates a new, single clip in your Project panel with the high-quality audio permanently attached, simplifying the rest of your edit.
What are the best export settings for audio in Premiere Pro?
Choosing the right export settings ensures your audio sounds great everywhere. Go to File > Export > Media and steer to the Audio tab.
- For Web and Social Media: Use the AAC codec with a 320kbps bitrate and a 48000 Hz sample rate. This provides excellent quality with manageable file sizes.
- For Archival or Professional Delivery: Choose the WAV format with a 24-bit depth and a 48000 Hz sample rate. This uncompressed format preserves the highest possible audio quality.
For most projects, a stereo channel output is the correct choice.
Conclusion
You now have the secrets to audio editing Premiere Pro, and your viewers will notice the difference. From organizing your workspace to mastering the Essential Sound panel, you can create professional-quality audio for any production.
You’ve learned the complete workflow: fundamental cuts and fades, AI-powered dialogue improvement, precise keyframe automation, and professional built-in effects. With integrations like Adobe Audition and VST plugins, Premiere Pro’s toolkit can handle any project, simple or complex.
Professional audio editing Premiere Pro isn’t just about fixing problems—it’s about creating experiences. Clear, immersive audio builds trust and transports your audience, whether in a hotel promotional video or a client testimonial.
At Christian Daniel Designs, we’ve used these techniques for over two decades to create award-winning video content for our clients. These same methods help businesses connect with their audiences, and they are accessible to editors at any skill level.
Your audio journey begins now. Every project is a chance to refine your skills and make your content shine, because great audio isn’t just heard; it’s felt.
Ready to take your projects to the next level? Explore professional video editing services and see how we can help bring your vision to life with the same techniques you’ve just mastered.
