WordPress Image Compression: Top 5 Essential Plugins
Why Your WordPress Site’s Speed Matters More Than Ever
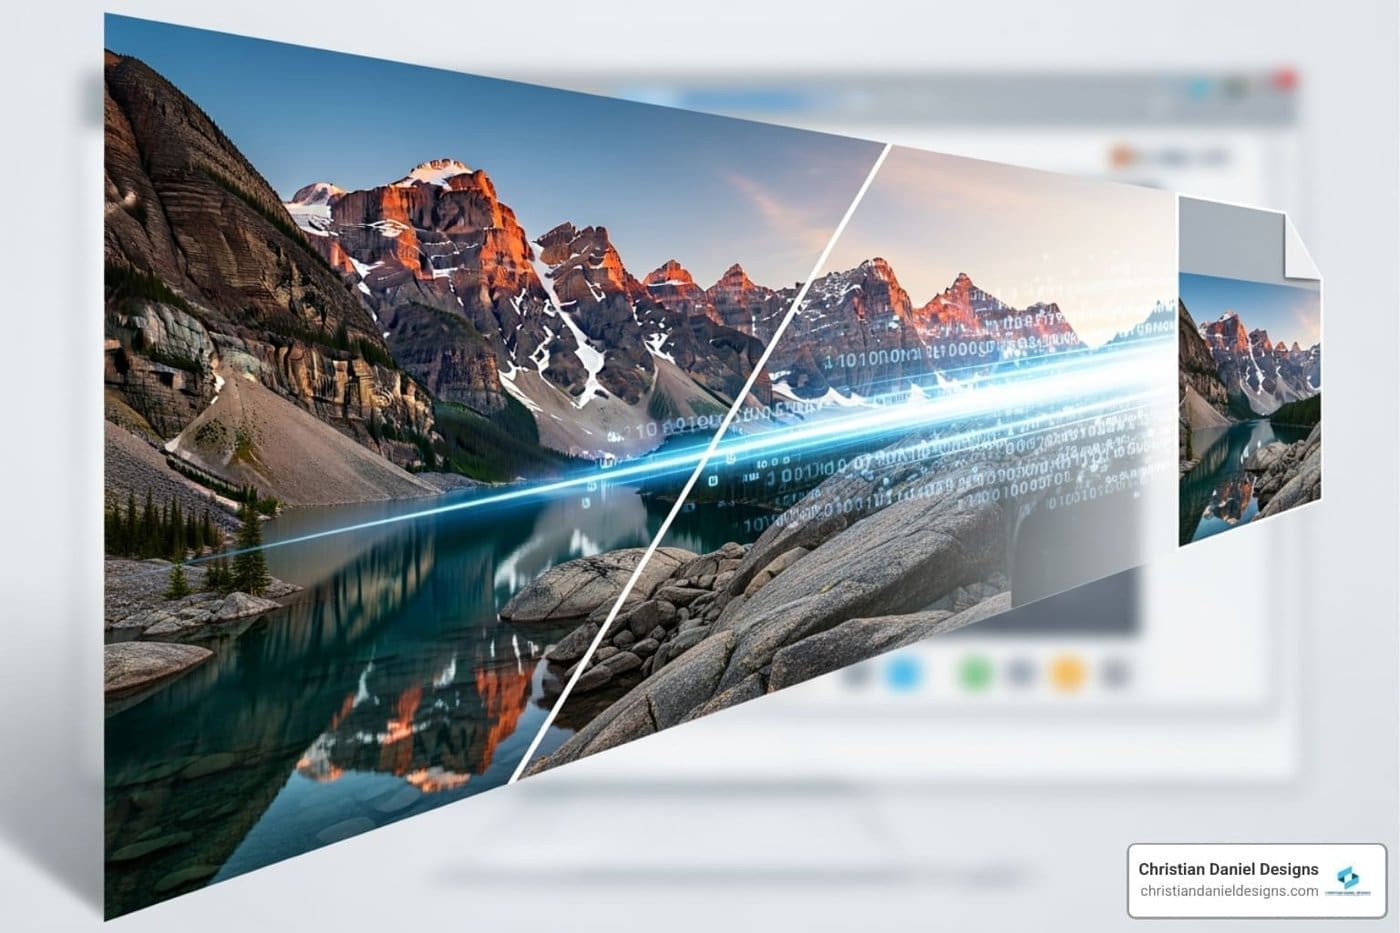
WordPress image compression is the process of reducing image file sizes to make your website load faster. If you want to speed up your WordPress site, this is what you need to know.
Quick Answer: How to Optimize WordPress Images
- Compress images with plugins like Smush, Imagify, or ShortPixel.
- Resize images to the correct dimensions before uploading (e.g., 1920px for hero images).
- Convert to WebP format for 25-35% smaller files than JPEG/PNG.
- Enable lazy loading to defer offscreen images.
- Use a CDN to serve images faster to users worldwide.
Bloated images are a silent website killer. I’ve seen beautiful sites fail because photos uploaded straight from a camera caused painfully slow load times, frustrating visitors into leaving before the page even loaded.
Images make up 61-67% of a typical page’s weight, so if your site is slow, they’re the likely culprit. With 60% of traffic coming from mobile, every extra second of load time costs you visitors and business.
The good news is that fixing this is straightforward. WordPress image compression can dramatically boost your site’s speed without sacrificing photo quality.
I’m Christian Daniel, an NYC web designer with 20+ years of experience building fast WordPress sites. I’ve helped many clients slash page load times from over 5 seconds to under 1 second just by implementing proper WordPress image compression.

The “Why” Behind Image Optimization: Speed, SEO, and User Experience
Slow websites lose money. I’ve seen great designs fail due to high bounce rates caused by slow-loading pages. When images aren’t optimized, visitors wait. After three seconds, nearly 40% of them give up and leave. They never see your services or fill out your contact form.
Google notices when people bounce from your site. This hurts your search rankings through Core Web Vitals, a set of metrics measuring user experience. Sites with bloated images score poorly on Largest Contentful Paint (LCP), which measures how quickly your main content loads. I’ve seen this with hospitality clients; a hotel with stunning but uncompressed photos loses bookings because the page is too slow for mobile users.
Bandwidth is another issue, especially for mobile visitors. Large images force users to burn through their data plans. Optimizing them makes your site faster and more accessible for everyone. That’s why WordPress image compression is foundational. If you want to rank higher, check out my guide on How to Get Your Web Page First on Google, but know that image optimization is a critical piece of that puzzle.
Lossy vs. Lossless Compression: Finding the Right Balance
Understanding the difference between lossy and lossless compression is key to making smart choices for your images.

Lossy compression permanently removes some image data to make files smaller. Done right, the quality loss is unnoticeable, and I often achieve 50-80% size reductions. JPEG is the standard for lossy compression and is perfect for photographs—anything with lots of colors and gradients.
Lossless compression shrinks files without discarding any data. The algorithm finds more efficient ways to store the information. PNG is the go-to lossless format, ideal for graphics with sharp edges, text, logos, or anything needing a transparent background. The tradeoff is smaller file size reductions, typically only 10-20%.
For most website images, lossy compression is your friend. I use it on nearly every photo. For logos and graphics, I stick with lossless. If you want to dive deeper, this guide to lossy and lossless compression is a great resource.
Right-Sizing Your Images Before You Upload
A common mistake is uploading huge, 5000-pixel-wide photos directly to WordPress. The browser has to download the entire massive file, even if it’s only displayed at 800 pixels wide. This cripples site speed.
Right-sizing—resizing an image to its display dimensions before uploading—is the single most effective thing you can do. This isn’t about Responsive Website Design, but about not forcing visitors to download pixels they’ll never see.
Here are my typical guidelines:
- Hero images/full-width banners: 1920 pixels wide.
- Blog post images: 1200 pixels wide.
- Inline content images: 800-1000 pixels wide.
- Thumbnails: 150×150 or 300×300 pixels.
You don’t need expensive software. Free tools like GIMP or even your computer’s built-in image editor can handle resizing. Get your image dimensions right before you upload, and you’ve already won half the battle with WordPress image compression.
Understanding WordPress’s Built-in Image Handling
When you upload an image, WordPress automatically creates multiple, smaller versions. This is a smart feature that helps speed up your site by allowing your theme to serve an appropriately sized image instead of a massive original file. By default, it creates thumbnail, medium, and large sizes.
Since version 4.5, WordPress also automatically compresses JPEGs to about 82% of their original quality. This is a form of lossy compression that strikes a decent balance for many sites, but it’s not always optimal. For a photography portfolio, you might want higher quality; for a text-heavy blog, you might prefer more aggressive compression.
WordPress also has a big_image_size_threshold. If you upload an image wider or taller than 2560 pixels, WordPress automatically scales it down. This is a safety net, but it means WordPress is making decisions about your images without your input.
Taking Control: How to Adjust or Disable Default WordPress Image Compression
For pixel-perfect control, you can adjust or disable these default behaviors with code snippets. I recommend adding them via a custom plugin, as theme updates can overwrite your functions.php file.
To control JPEG compression quality, use this filter. A value of 100 means no compression, while 90 is a good high-quality setting.
add_filter( 'jpeg_quality', function() { return 90; } );
To disable the big image threshold and stop WordPress from scaling down large images, add this:
add_filter( 'big_image_size_threshold', '__return_false' );
Another option is to go to Settings > Media and set the image sizes to 0. This stops WordPress from creating extra image versions. Warning: Many themes rely on these sizes, so this could break your site’s layout. Test carefully.
Disabling WordPress’s built-in compression is only for specific cases, like when you’re carefully optimizing every image yourself before uploading. For most sites, a good optimization plugin offers a better balance.
Optimizing Images Manually Without Plugins
If you prefer a hands-on approach, you can optimize images without plugins. My manual workflow has three essential steps.
First, always right-size your images. Set the correct pixel dimensions in an image editor before uploading. This step alone can reduce file sizes by 70-80%.
Second, choose the right format. Use JPEG for photos, PNG for graphics or images needing transparency, and consider WebP or AVIF for even better compression if you’re comfortable with them.
Third, compress intelligently. I use TinyPNG for quick and effective compression of JPEGs, PNGs, and WebP files. It can reduce file sizes by 50% or more with no visible quality loss. Other great tools include Squoosh and ImageOptim.
If you use desktop software like Photoshop or GIMP, use the “Save for Web” feature. It lets you preview the quality and file size to find the perfect balance. I usually aim for a 75-85% quality setting for JPEGs. Many tools also let you strip EXIF data (camera settings, location, etc.) to save a few more kilobytes. A consistent manual workflow is key to improving your site’s performance and Mobile Optimization.
The Ultimate Guide to WordPress Image Compression Plugins
For most users, manual optimization isn’t practical. This is where WordPress image compression plugins are lifesavers. After two decades of building WordPress sites, I consider them an essential investment in your site’s performance.
Plugins automate the entire process. You upload an image, and the plugin compresses it in the background. If you have an existing library of unoptimized images, their bulk optimization features can compress everything with a single click, often cutting page load times. Good plugins also back up your original images, so you can restore them if needed.
Modern plugins also offer advanced features like automatic conversion to WebP/AVIF, adaptive image sizing, and CDN integration, which are nearly impossible to manage manually.
How Plugins Work: Server-Side vs. Cloud-Based Optimization
Plugins use one of two methods to compress images, which affects performance and cost.
Server-side compression uses your own web server’s resources. The main advantage is privacy, as your images never leave your server. The downside is that it can strain your server, especially on shared hosting, and slow down your site during bulk processing. EWWW Image Optimizer is a popular plugin that offers this method.
Cloud-based compression offloads the work to the plugin provider’s external servers. This keeps your site fast, and the provider’s specialized servers often use more advanced algorithms. The downside is that most services require an API key and operate on a subscription or credit basis. Plugins like Imagify, ShortPixel, and Smush Pro primarily use this method.
For most of my clients, I recommend cloud-based solutions. The performance benefits and reliability are well worth the minimal cost.
My Top 5 Image Optimization Plugins (Tested & Reviewed)
I’ve tested dozens of plugins over the years. Here are my top five, with my personal favorite at the top.
| Plugin Name | Compression Types | WebP/AVIF Support | Free Plan Limits | CDN |
|---|---|---|---|---|
| 1. Smush | Lossless, Lossy (Super/Ultra) | Yes (Pro) | Unlimited (up to 5MB/image) | Yes (Pro) |
| 2. Imagify | Normal, Aggressive, Ultra | Yes | 20MB/month (~200 images) | No (integrates with CDN) |
| 3. ShortPixel | Lossy, Glossy, Lossless | Yes | 100 images/month | Yes (Adaptive Images) |
| 4. EWWW Image Optimizer | Lossless, Lossy | Yes | Unlimited (server-side) | Yes (Easy IO) |
| 5. Optimole | Lossy | Yes | 5,000 visits/month, 1GB bandwidth | Yes |
1. Smush: My top recommendation is Smush from WPMU DEV. It strikes the perfect balance of power and ease of use. Its free version is incredibly generous, offering unlimited lossless compression for images up to 5MB. The Pro version open ups aggressive lossy compression, automatic resizing, lazy loading, and a built-in CDN, making it a complete solution.
2. Imagify: My second choice, Imagify, offers three flexible compression levels (Normal, Aggressive, Ultra), making it great for portfolio sites where precise control is needed. Its WebP conversion is seamless and the interface is refreshingly simple.
3. ShortPixel: ShortPixel excels with its “SmartCompress” technology and three modes (Lossy, Glossy, Lossless). Its Adaptive Images feature, which serves perfectly sized images via CDN based on the visitor’s device, is a huge plus for mobile optimization.
4. EWWW Image Optimizer: EWWW Image Optimizer is uniquely flexible, offering both free, unlimited server-side compression and a cloud-based service (Easy IO). It’s perfect if you prefer local processing or want the ability to switch between methods.
5. Optimole: Optimole is a true ‘set-and-forget’ solution. It optimizes and serves images in real-time via its CDN, automatically handling resizing, lazy loading, and WebP/AVIF conversion. Its free tier is based on monthly visits, which is great for new sites.
A Note on Plugin Security
Plugin security is critical, as any plugin is a potential vulnerability. I always choose plugins from reputable developers who have a clear vulnerability disclosure policy and provide regular updates. This is why I stick with established, well-maintained plugins.
New regulations like the EU Cyber Resilience Act are placing more accountability on developers, which is good for everyone. For my clients, I recommend regular Website Security Audits to ensure all plugins remain secure and up-to-date.
Advanced Optimization: Beyond Basic Compression
Once you’ve mastered the basics of WordPress image compression, you can use advanced techniques to make your site even faster. These strategies work with your optimized images to create an experience that feels instant.
The two techniques I rely on most are Content Delivery Networks (CDNs) and lazy loading. Combining these with compressed images can push your site’s performance scores into the 90s on PageSpeed Insights.
CDNs like Jetpack Site Accelerator and Cloudflare Polish serve your images from servers geographically closer to your users, which dramatically reduces load times. Cloudflare Polish can even convert images to WebP on the fly. The key is to layer these techniques: compress, convert, lazy load, and serve via a CDN for the greatest speed improvement.
Embracing Next-Gen Formats: WebP & AVIF
Using only JPEGs and PNGs leaves performance on the table. I always encourage clients to switch to next-gen formats like WebP and AVIF.

WebP, developed by Google, offers lossless images that are ~26% smaller than PNGs and lossy images that are 25-34% smaller than JPEGs, with no quality difference. Browser support is now nearly universal. You can learn more from Google’s guide to WebP.
AVIF is even more impressive, producing files up to 60% smaller than JPEGs. Browser support is growing quickly. The best part is that plugins like Smush and ShortPixel handle the conversion automatically, serving the best format for each visitor’s browser while providing a JPEG/PNG fallback for older ones.
The Power of Lazy Loading
Lazy loading is a simple but powerful technique: it defers loading off-screen images, loading them only as the user scrolls down. This dramatically improves initial page load time and your Largest Contentful Paint (LCP) score, a key Core Web Vital.
WordPress has included native lazy loading since version 5.5, which is a great start. However, for more control, I often recommend a plugin like LazyLoad by WP Rocket. These plugins let you exclude specific images (like your logo or hero image) from lazy loading to ensure they appear instantly. They can also lazy load videos and iframes, providing a more polished user experience.
For my clients with photo-heavy sites, this fine-tuned control is a game-changer, making pages with dozens of images feel instant.
Measuring Success: How to Test Your Image Optimization
After optimizing, you need to measure your success to prove your efforts paid off. I rely on a few key web performance tools for concrete, actionable data.

Google PageSpeed Insights is my first stop. It’s Google’s own tool, and it audits your site’s speed, user experience, and Core Web Vitals, giving you specific recommendations for image optimization. You can access it at PageSpeed Insights.
GTmetrix is my second go-to for its detailed breakdown and waterfall chart. This chart visually shows how each file loads, making it easy to spot large, slow-loading images. Find it at GTmetrix.
I focus on metrics like page speed, total page weight, HTTP requests, and Largest Contentful Paint (LCP). Image optimization directly impacts all of these, especially LCP, which is a critical Core Web Vital.
The most important step is before-and-after testing. Run a baseline test before you start, and test again after. This quantifies your improvement. I’ve seen cases where proper optimization cut page load times by 6 seconds and reduced page weight from 567 KB to 88 KB. These results translate directly to lower bounce rates and more conversions.
Frequently Asked Questions about WordPress Image Compression
How much can I really speed up my site with image compression?
The impact is dramatic. Since images make up over 60% of a page’s weight, proper optimization can cut load times by 50% or more. For one hotel client, implementing WordPress image compression took their homepage load time from over 3 seconds to just 0.2 seconds. This 15x improvement led to better engagement and up to 6 times higher conversion rates.
Will compressing my images make them look blurry?
No, not when done correctly. Modern compression algorithms can reduce file sizes by 50-80% with no noticeable loss in quality for web viewing. The key is to use lossy compression for photos and lossless for graphics. If you do see blurring, you’ve likely over-compressed the image or started with a file that was too small. Quality plugins have safeguards to prevent this.
Can I optimize images that are already on my WordPress site?
Yes. This is a key feature of WordPress image compression plugins. Most offer a “bulk optimization” feature to process your entire existing media library in a few clicks. Good plugins also back up your original images, so you can restore them if you’re not happy with the results. It’s a quick win that delivers immediate speed improvements.
Conclusion: A Faster Site is Within Reach
After two decades of building WordPress sites, I can say with certainty that WordPress image compression is one of the most powerful ways to improve your site’s performance, user experience, and SEO. And it’s completely achievable, regardless of your technical skill.
You now have a roadmap: understand why speed matters, choose the right compression type, and always right-size your images before uploading. For most, a plugin like my top pick, Smush, automates the process, while advanced techniques like next-gen formats (WebP/AVIF) and lazy loading take your site to the next level.
The secret is a holistic approach: compress intelligently, serve modern formats, load strategically, and measure your results. This is when you’ll see page load times drop under one second, bounce rates fall, and conversions climb.
As an NYC-based web designer, I’ve seen these results firsthand. That’s why I make image optimization a foundational part of every site I build for my hospitality and small business clients. Your content deserves to be seen instantly.
If you want expert guidance to ensure your site stays fast and optimized, I’m here to help. For ongoing support and peace of mind, check out my WordPress maintenance services. I can make your website blazingly fast.

